Services Recent Work Reviews Areas We Cover Projects Advice Contact Call us
Home·Projects·St John's Road kitchen
Featured project · St Helier · 2021

A St Helier kitchen, taken back to the walls.

A dated kitchen on St John's Road stripped back to bare walls and rebuilt: boarded, plastered, rewired where it needed it, then fitted out with new units, solid worktops, a tiled splashback and a new floor. Twenty four photos, before to after.

24 photos · Spring 2021 · every step shown

Stage 01 of 06

Where it started.

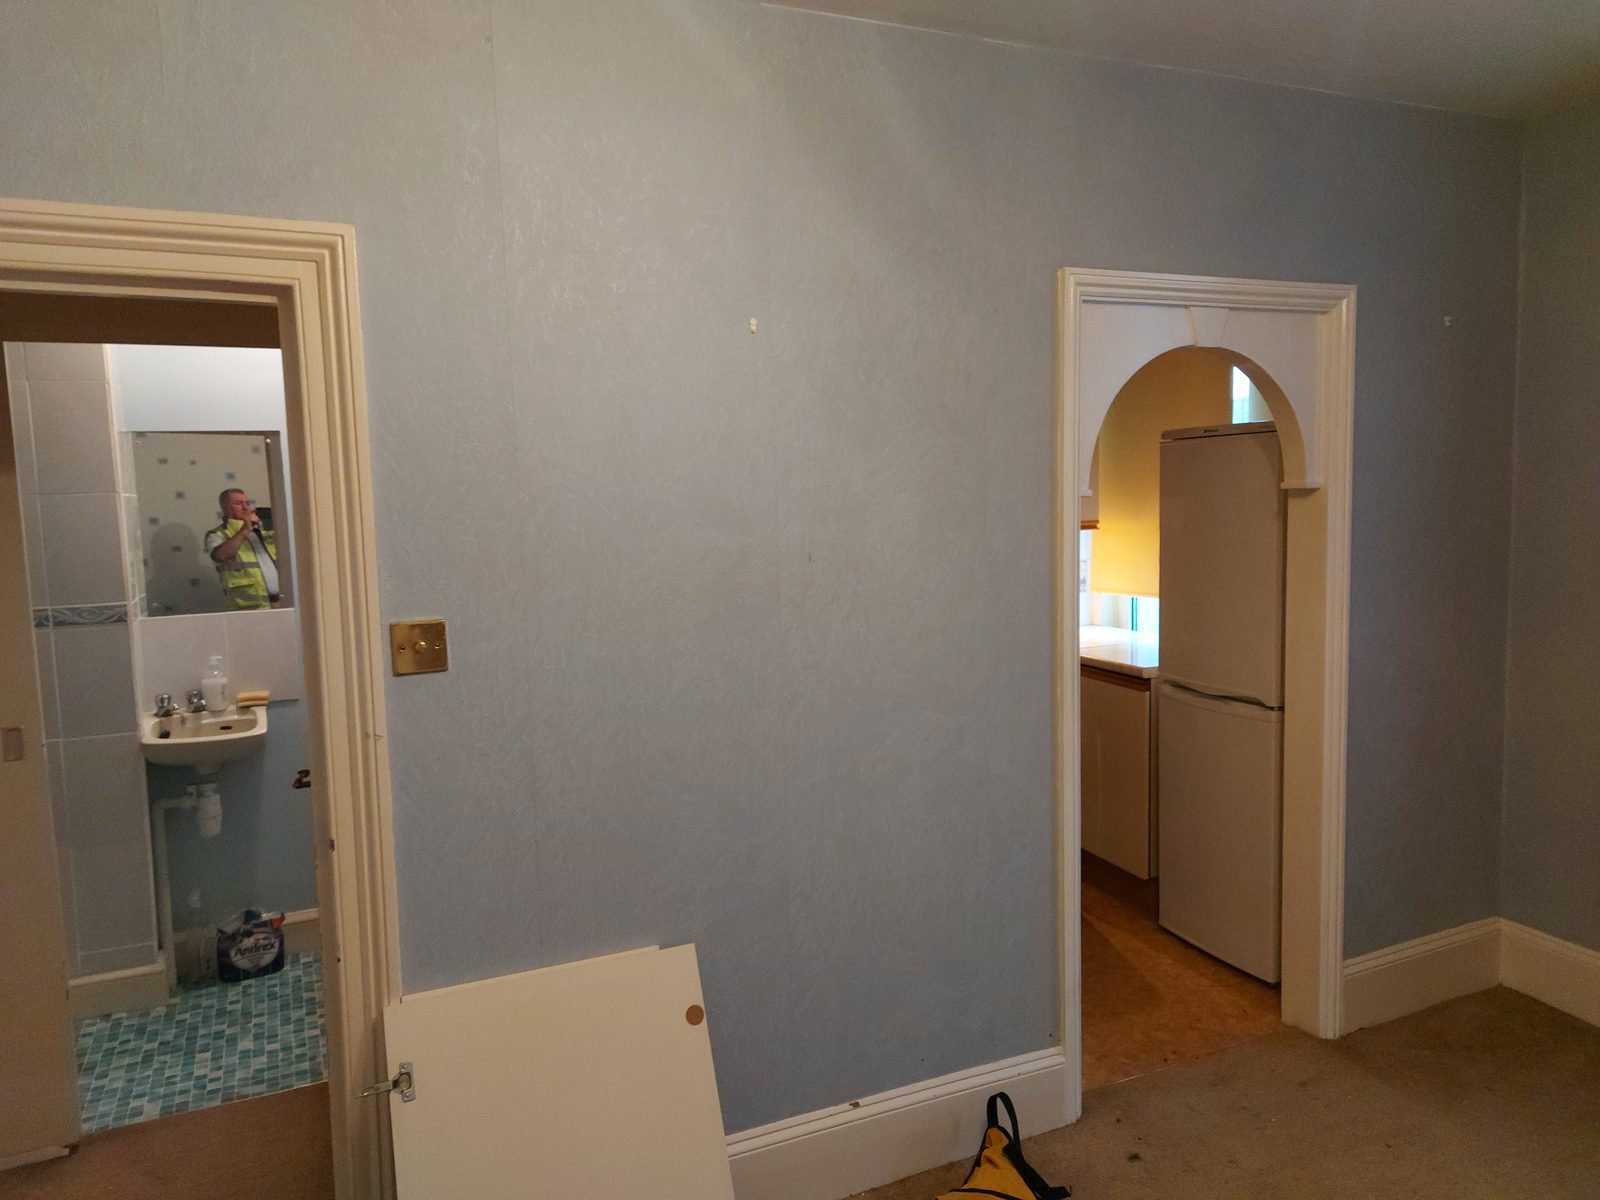
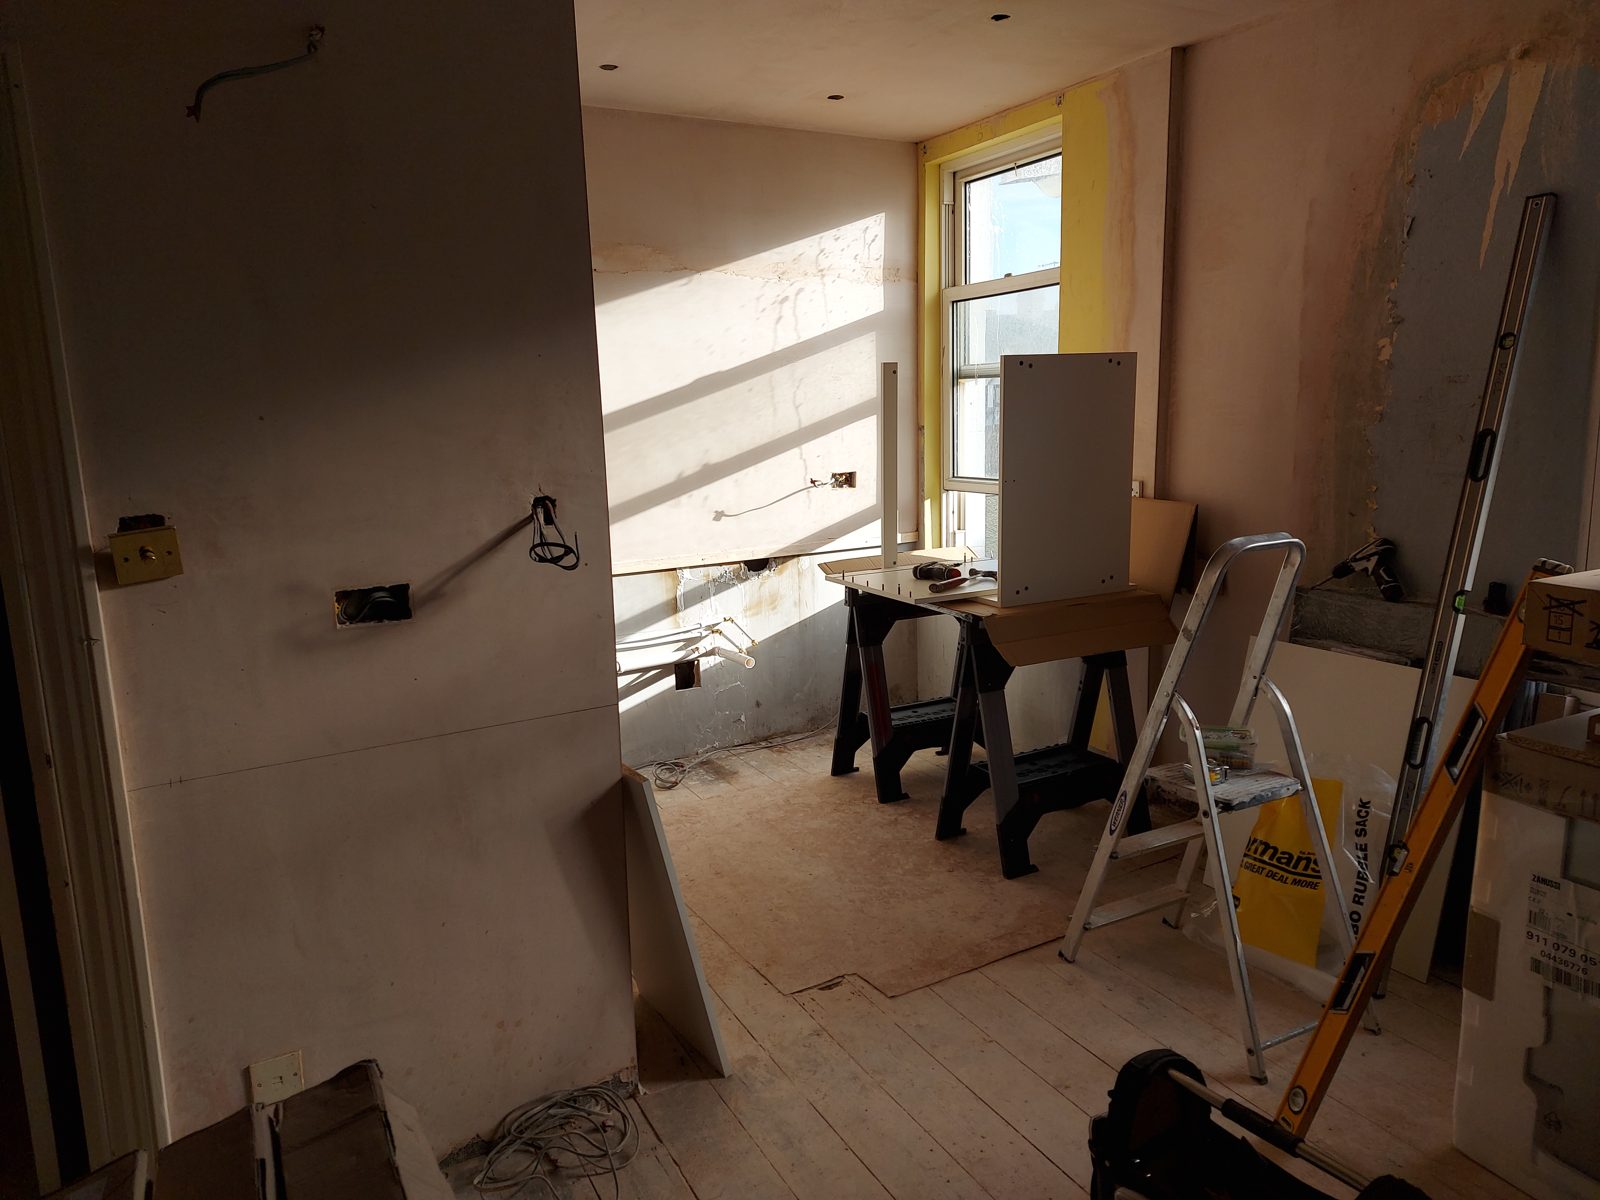
The old kitchen had done its years of service: dated units, tired surfaces and a layout that wasted the room. The brief was simple enough. Take it all out and start again.
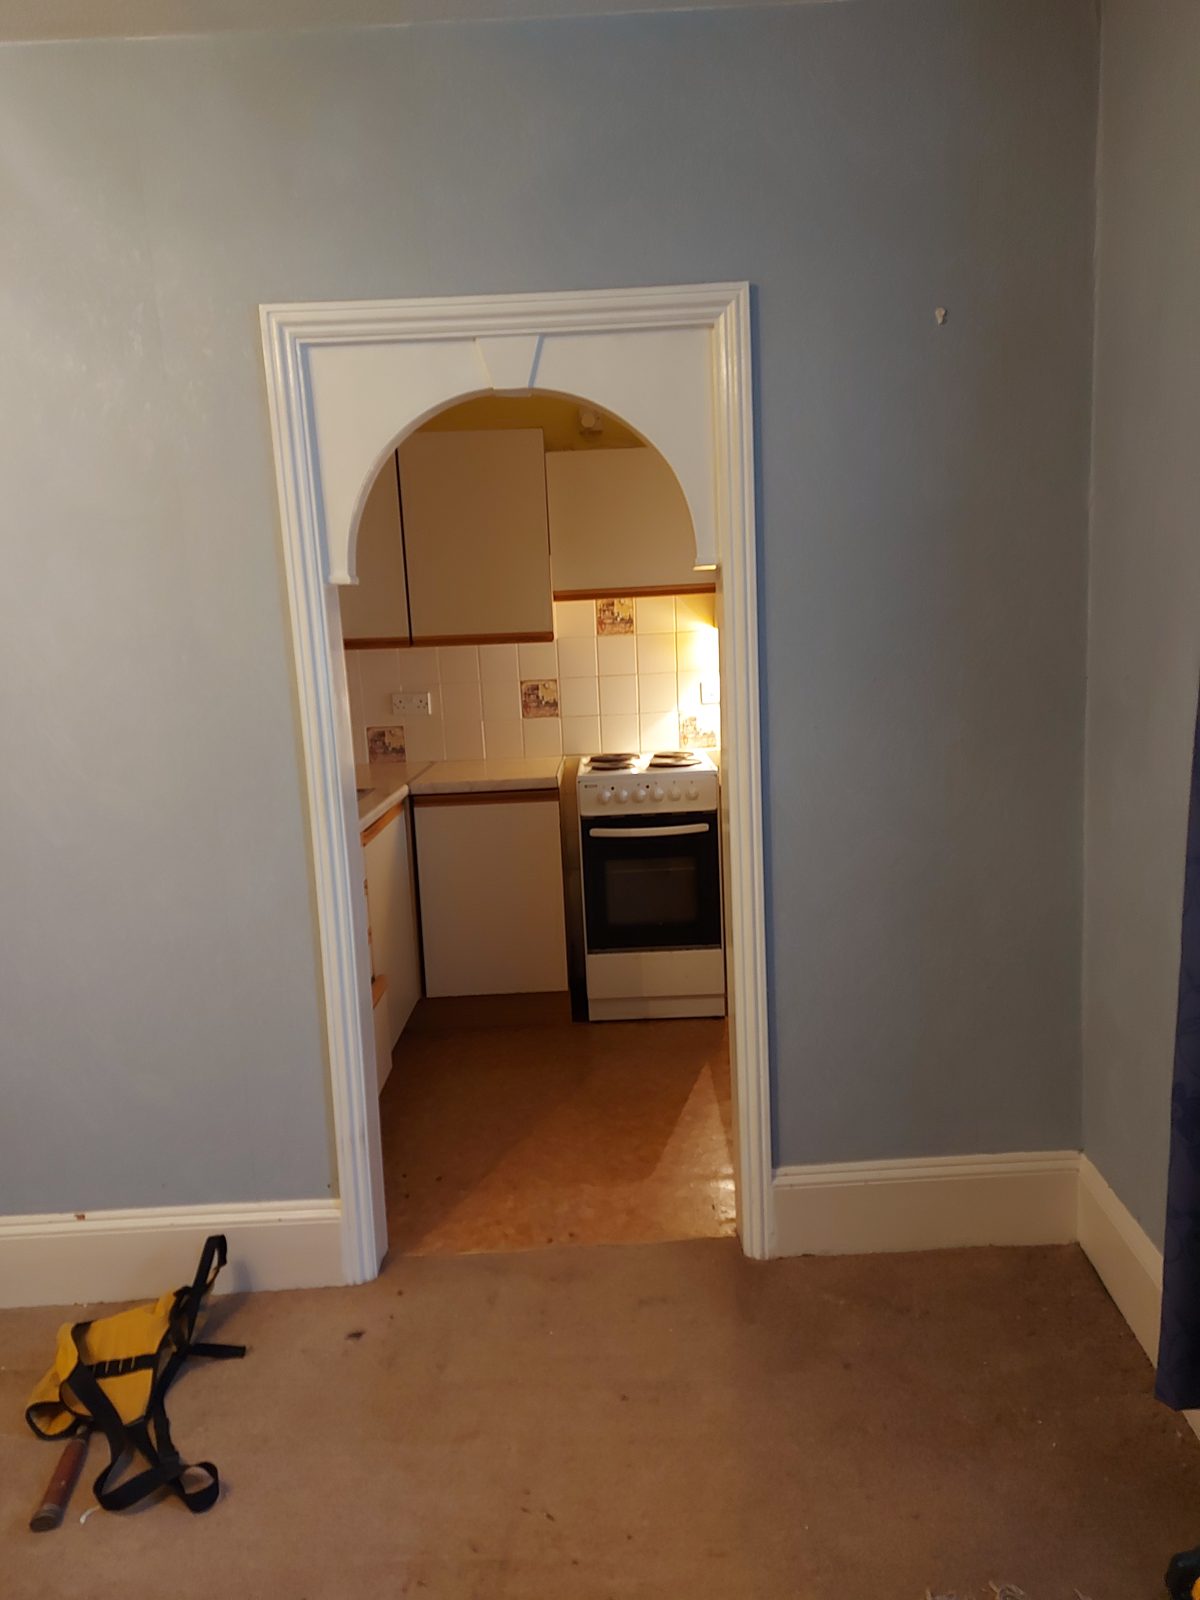
Before, through the arch: St John's Road kitchen project photo 01
/01 · Before, through the arch
Before, the old units and layout: St John's Road kitchen project photo 02
/02 · Before, the old units and layout
Stage 02 of 06

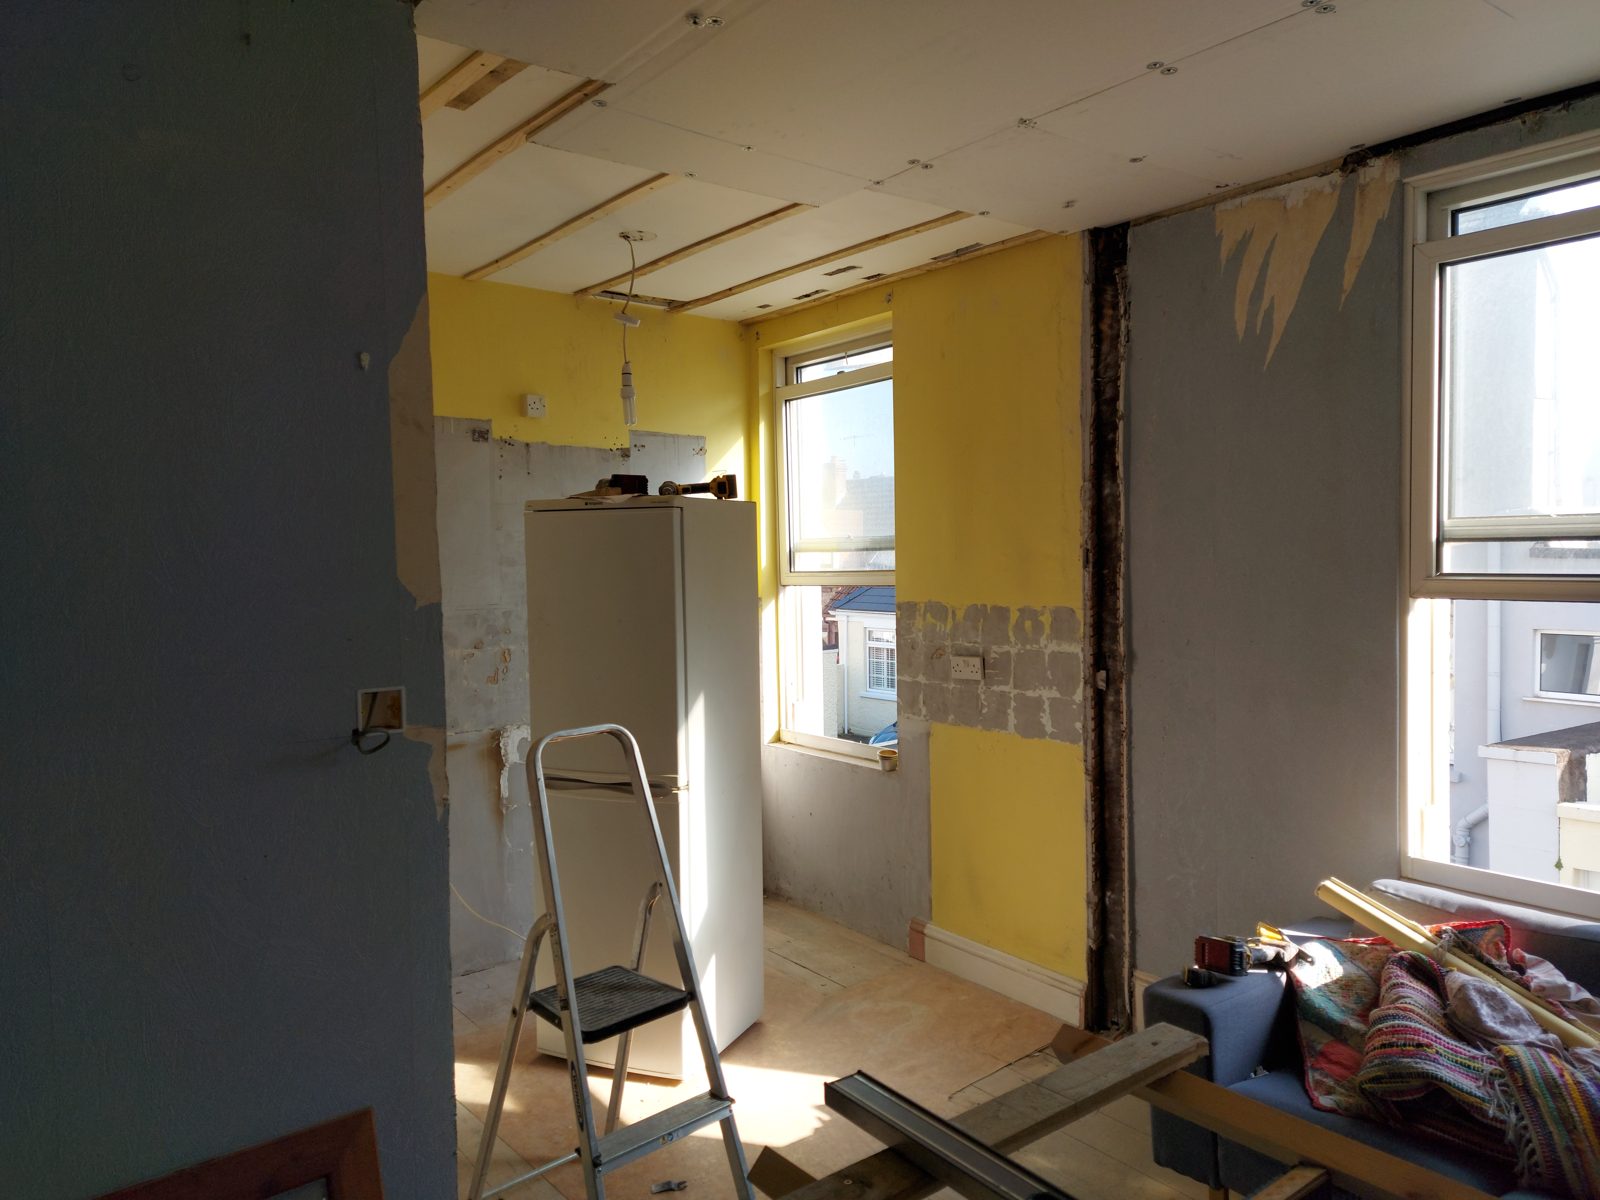
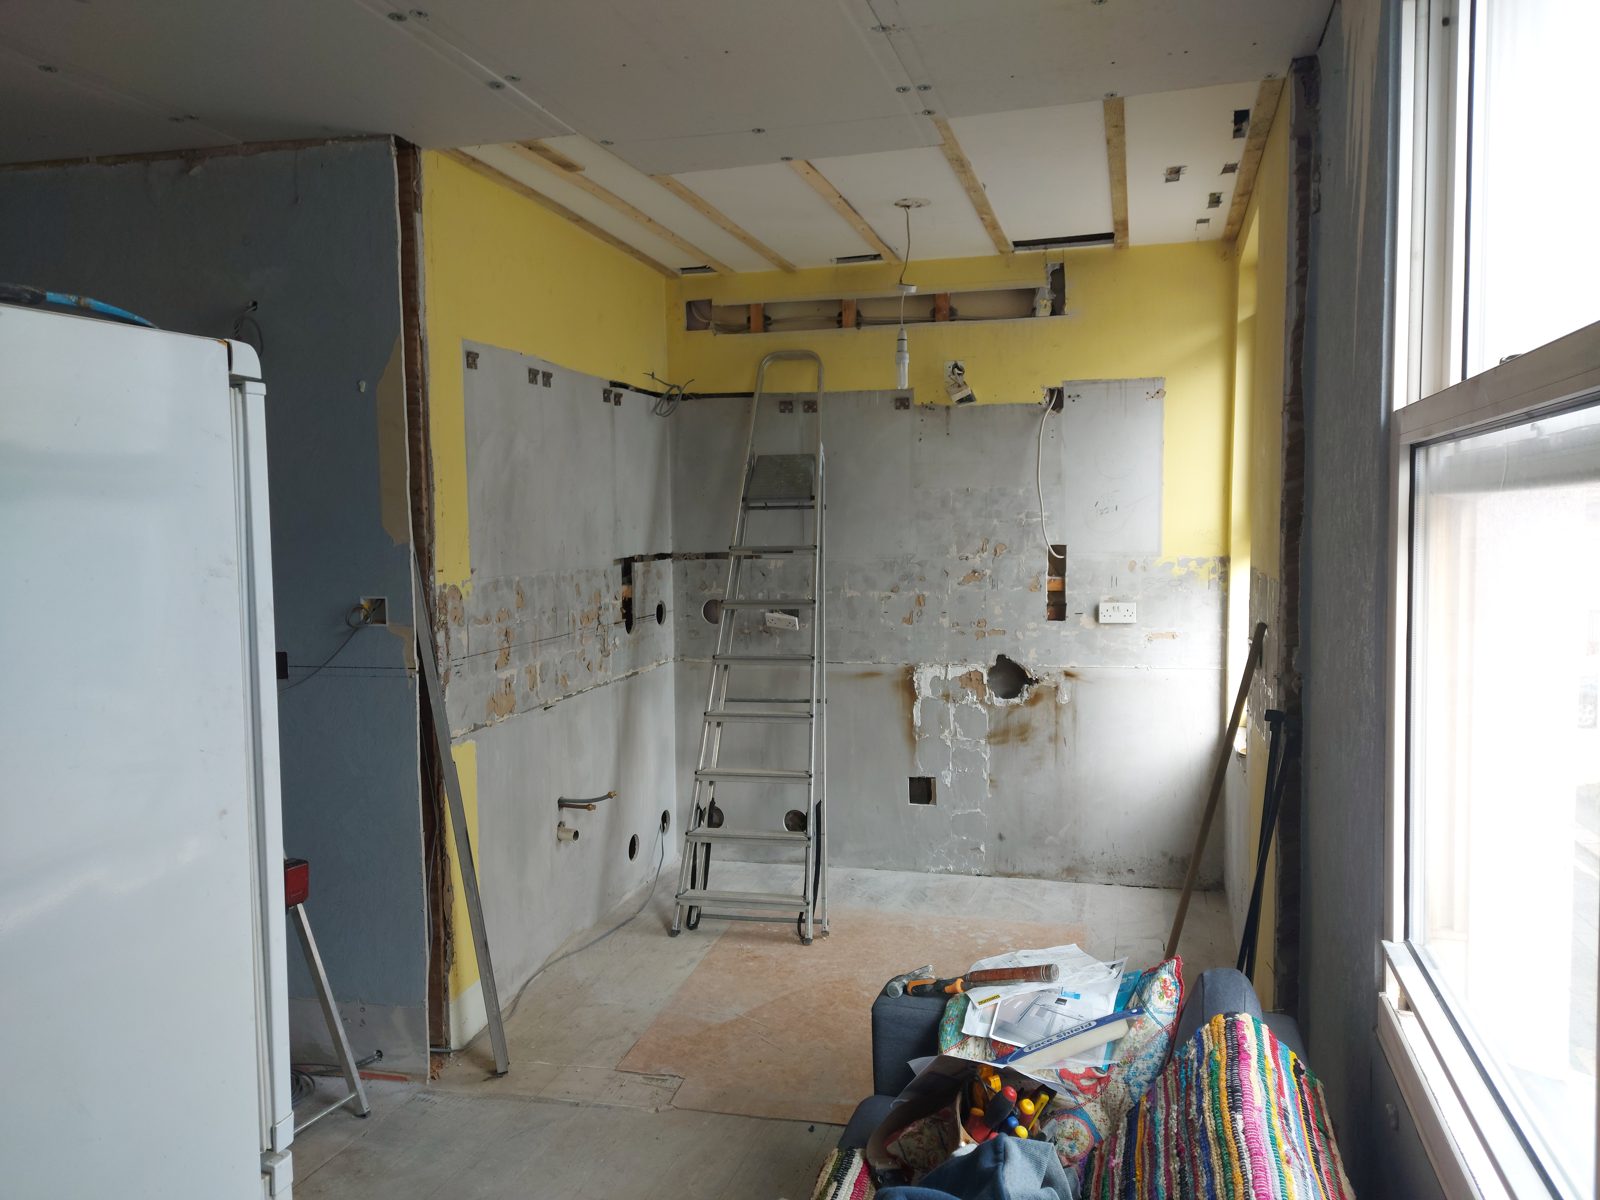
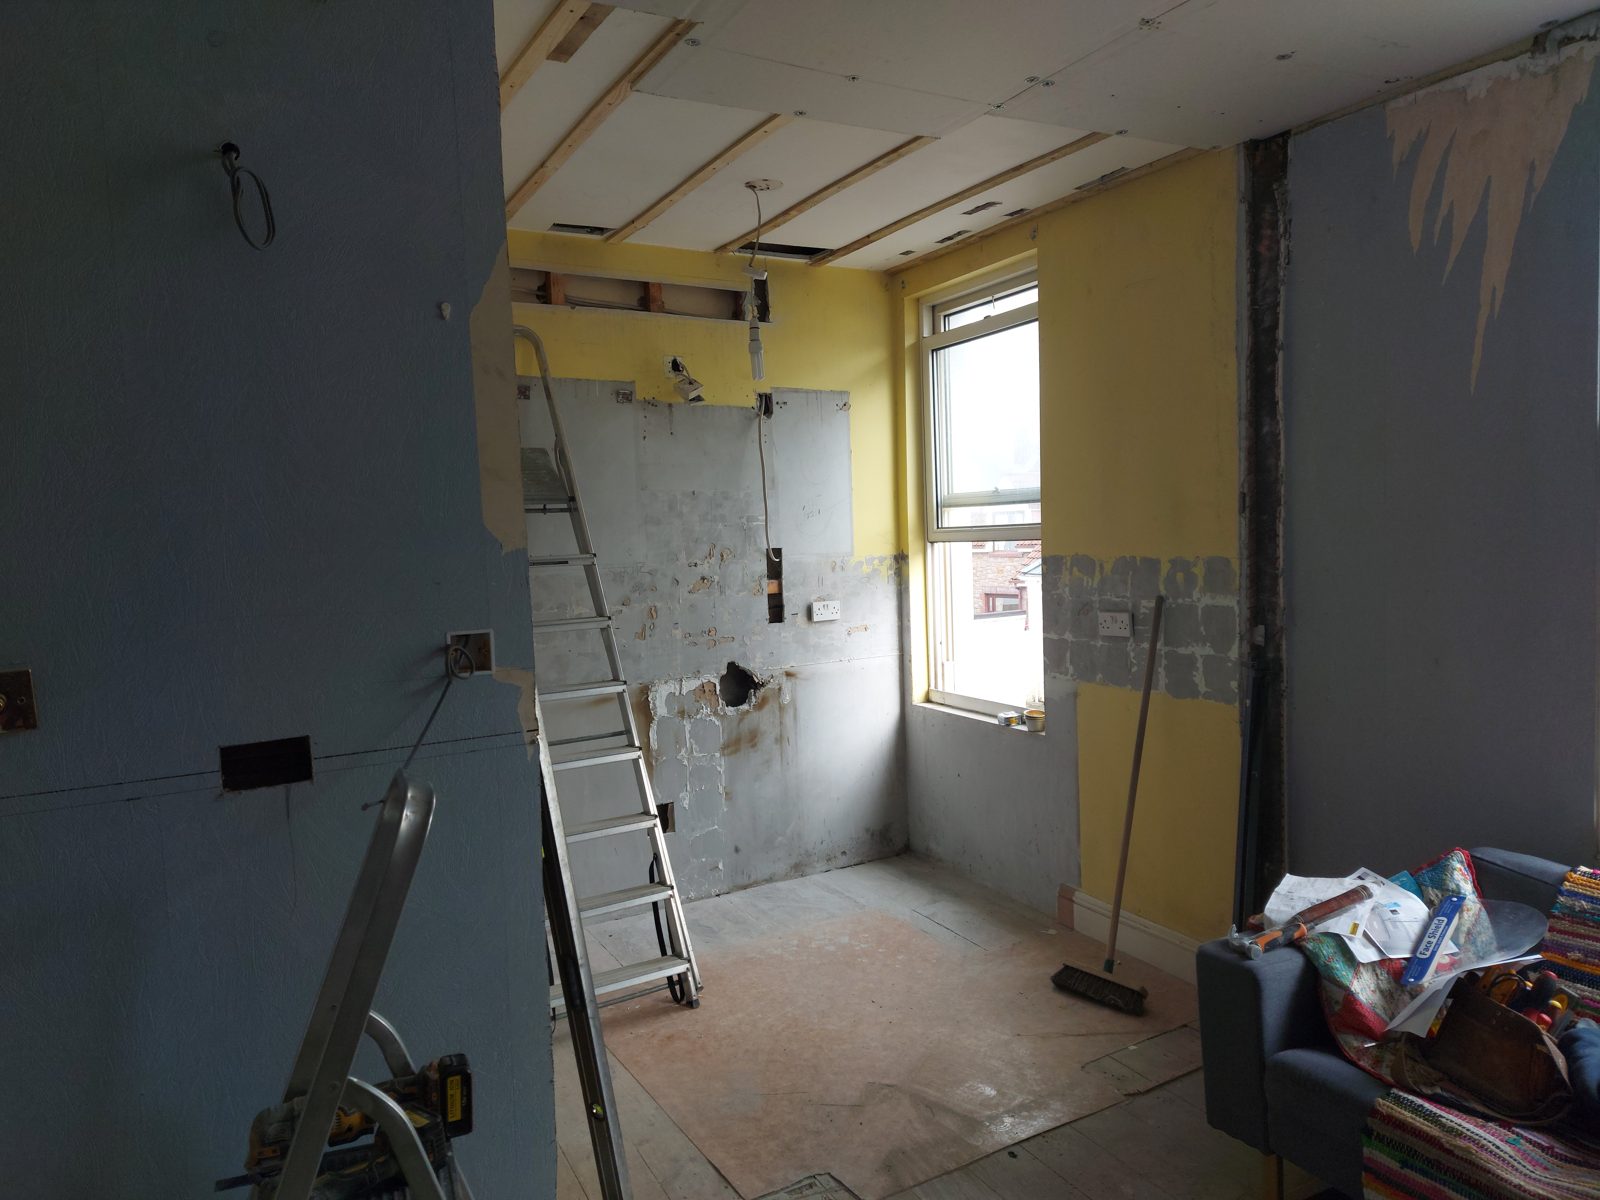
Strip out.

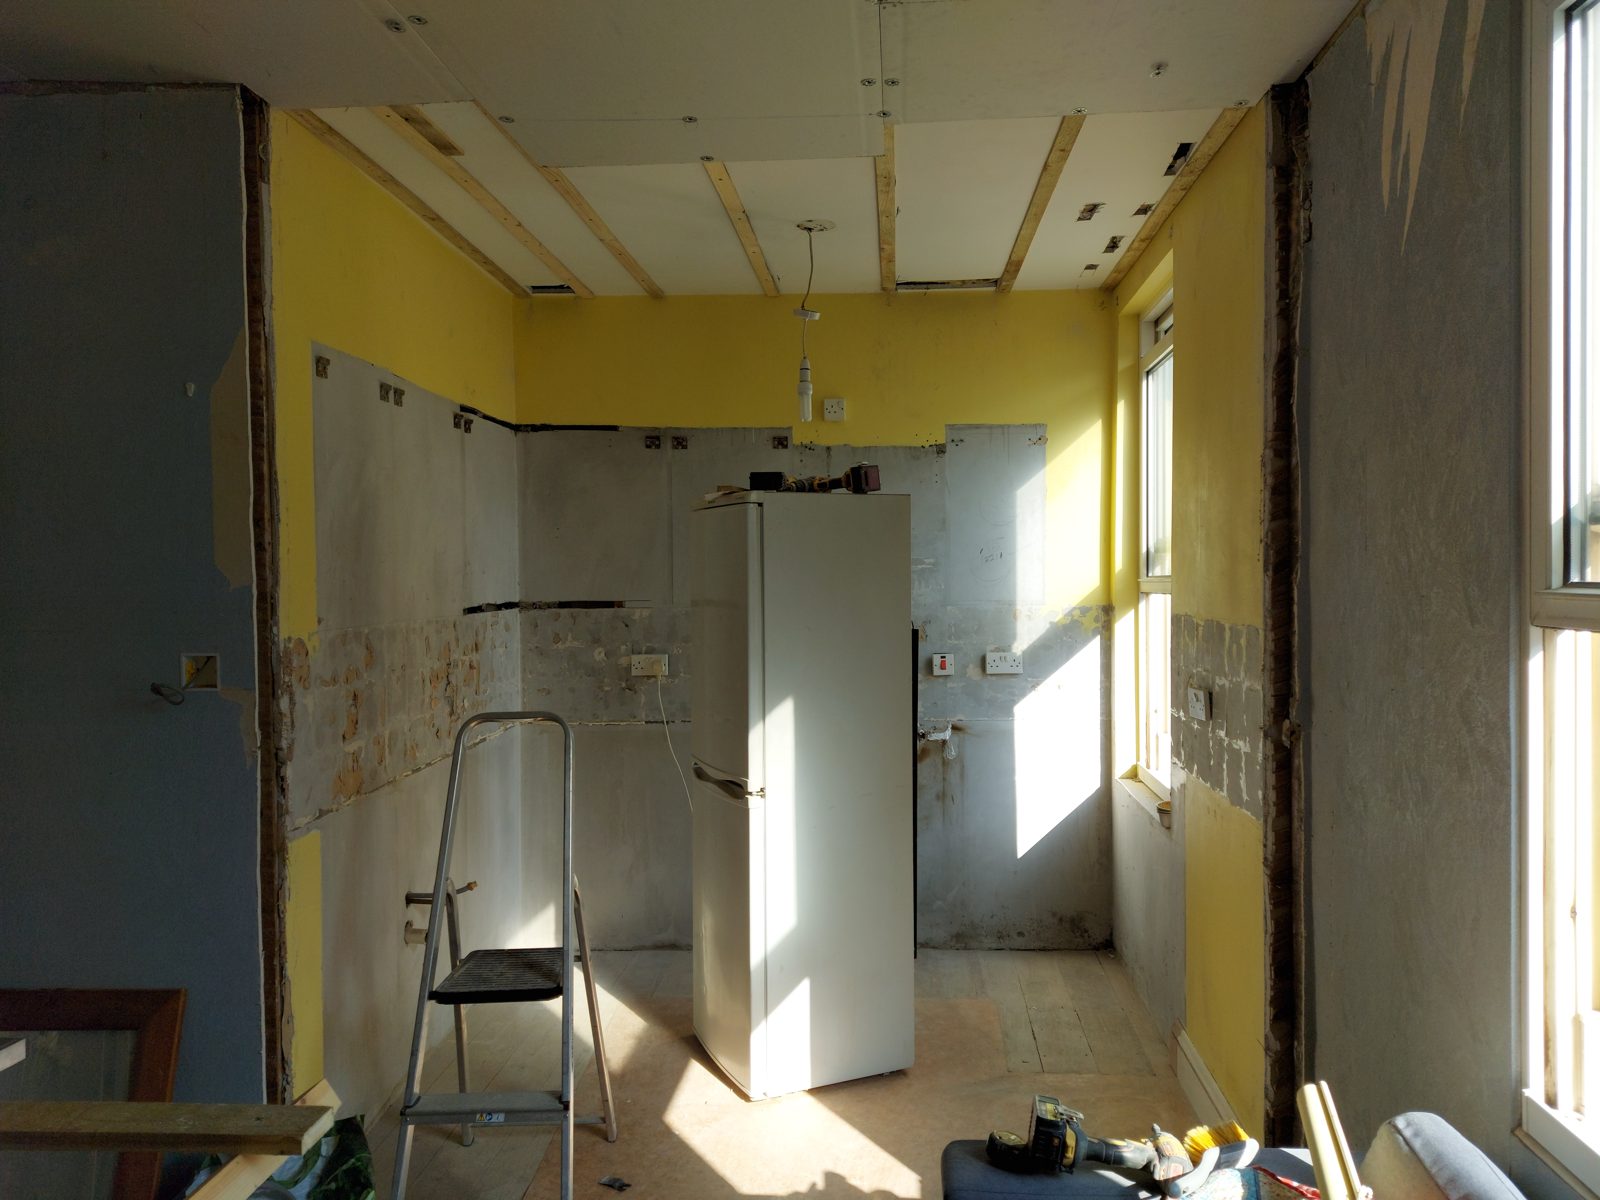
Units, tiles and coverings all came out, right back to the original walls and ceiling. Going back to bare bones takes longer than skimming over the top, but it is the only way to know exactly what you are building onto.

Units and tiles off the walls: St John's Road kitchen project photo 03
/03 · Units and tiles off the walls
Ceiling opened up: St John's Road kitchen project photo 04
/04 · Ceiling opened up
Back to the original walls: St John's Road kitchen project photo 05
/05 · Back to the original walls
Stripped and cleared for first fix: St John's Road kitchen project photo 06
/06 · Stripped and cleared for first fix
Stage 03 of 06

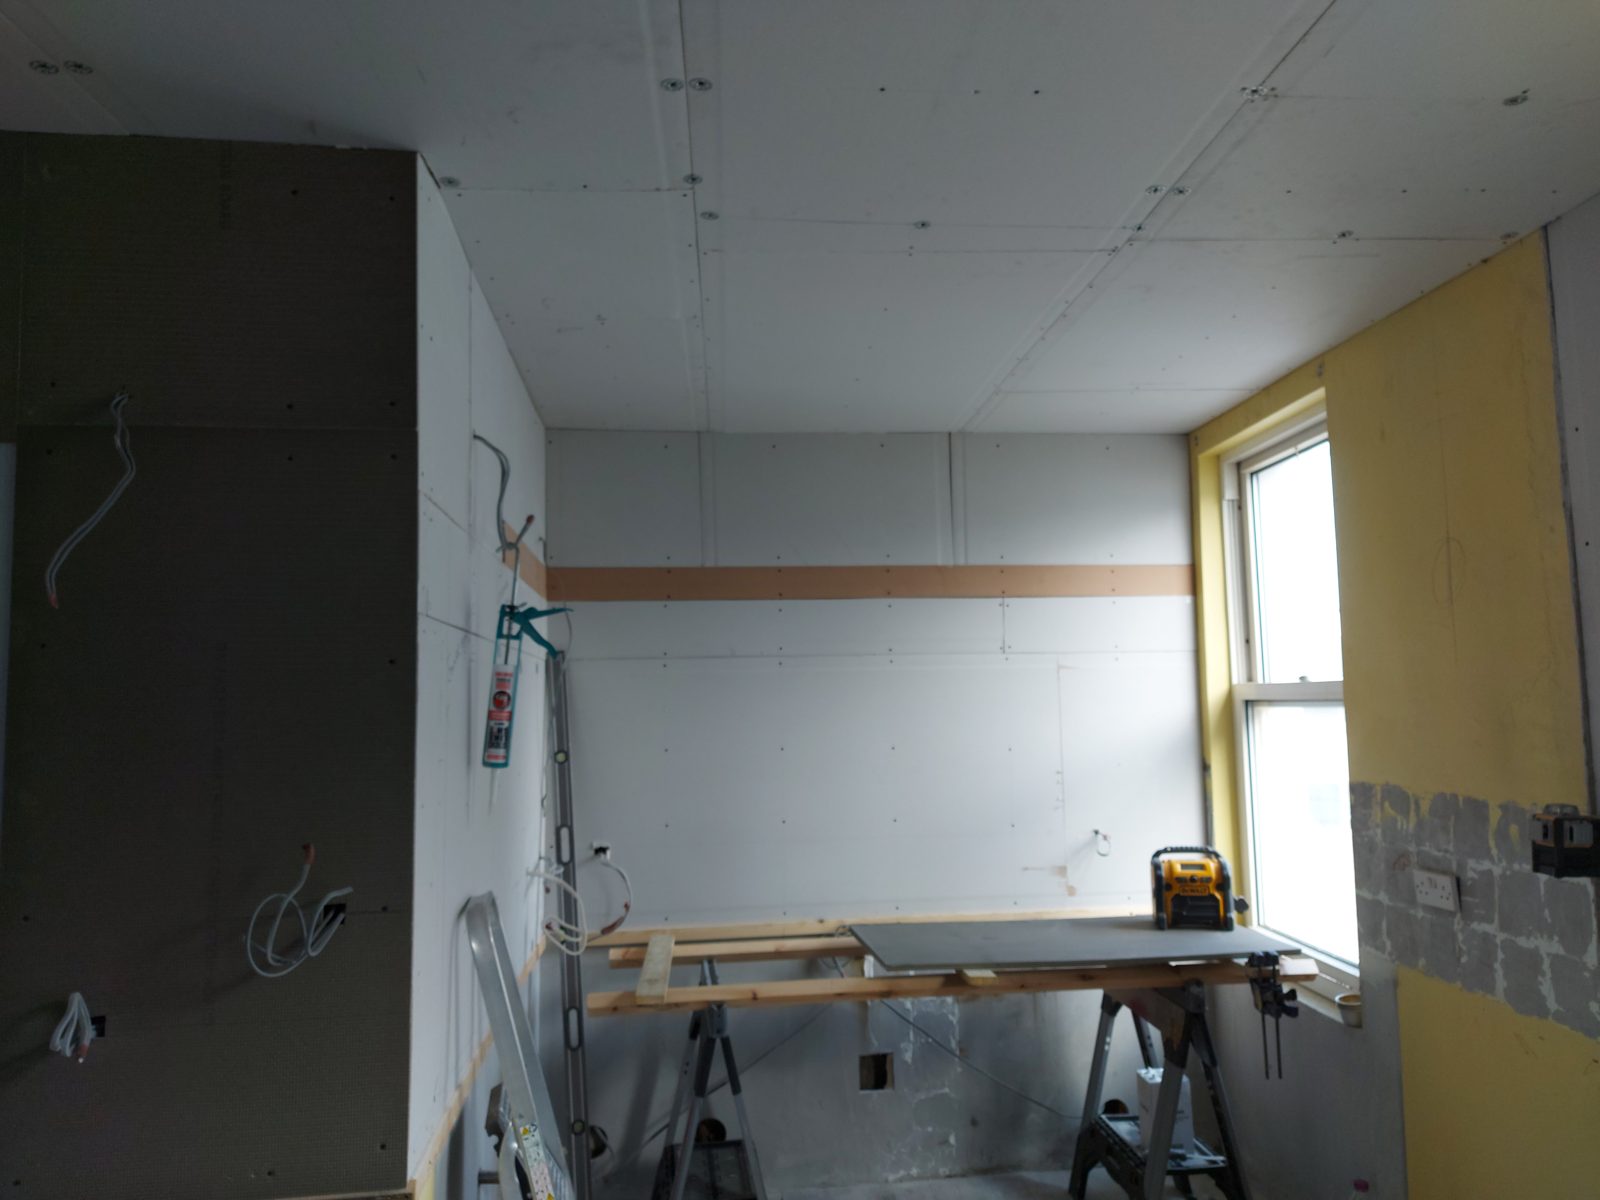
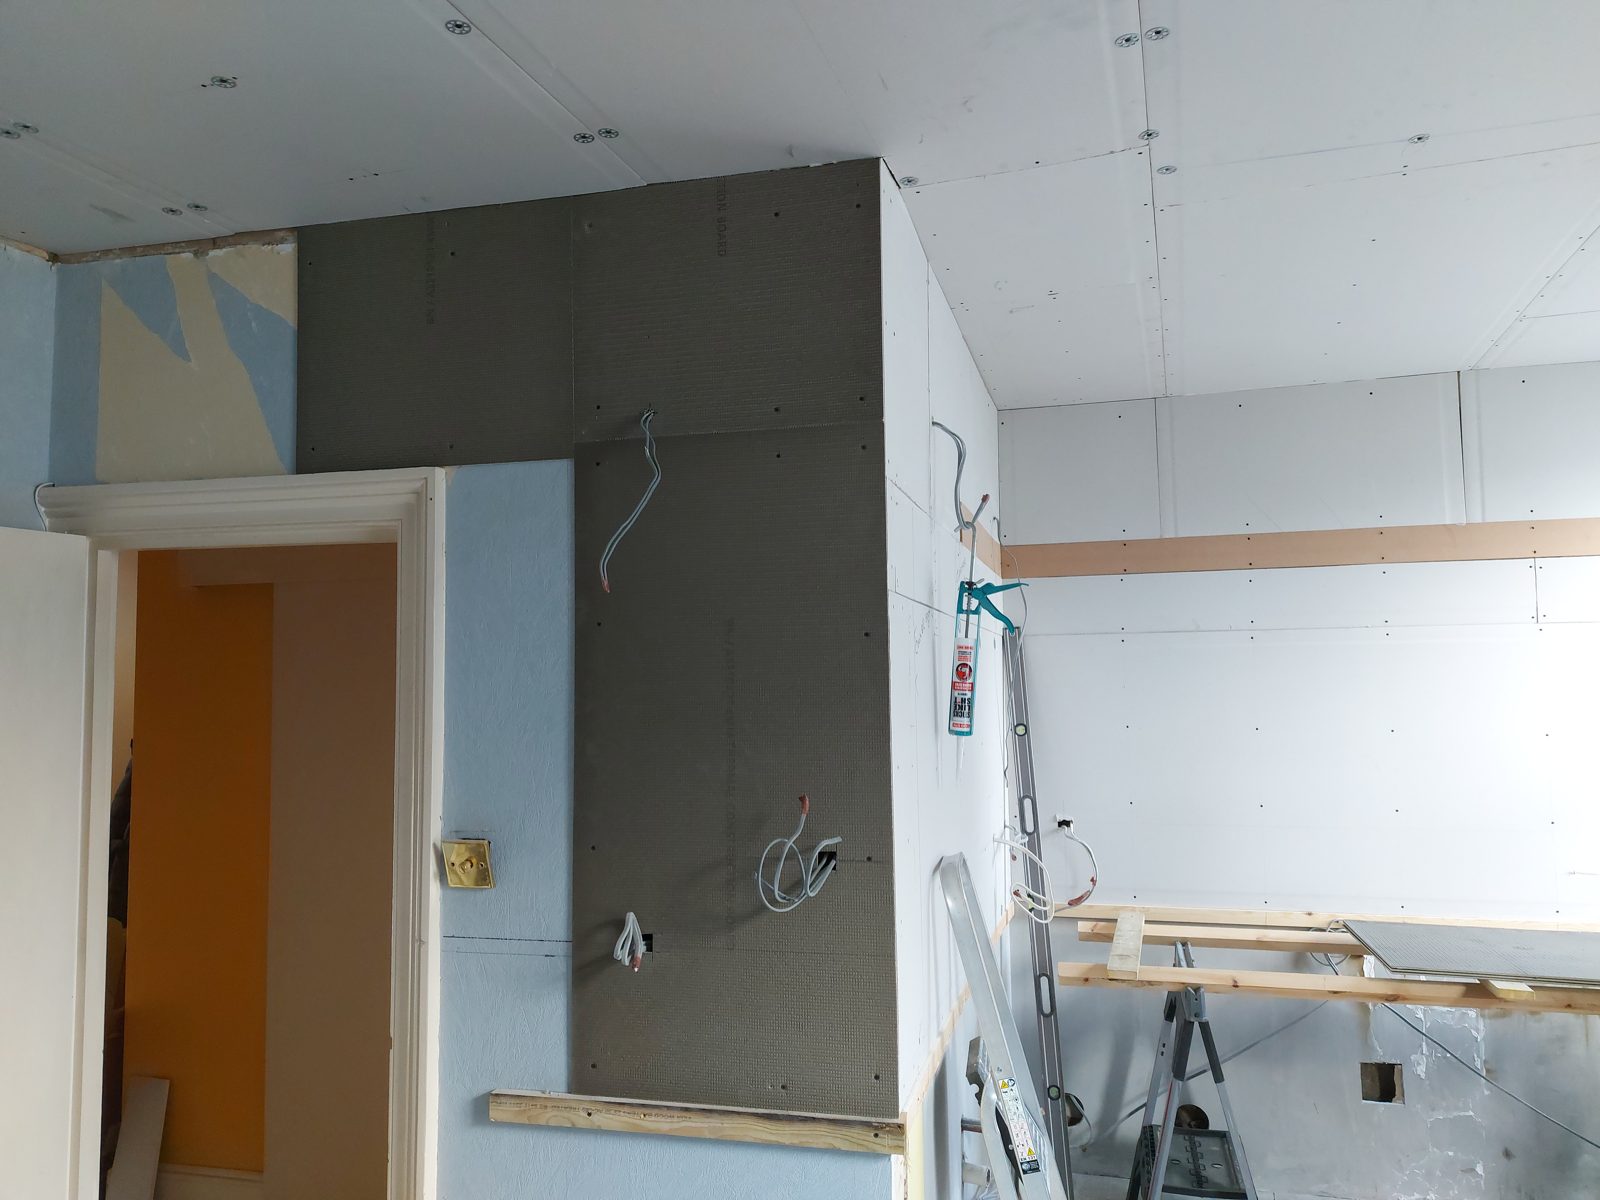
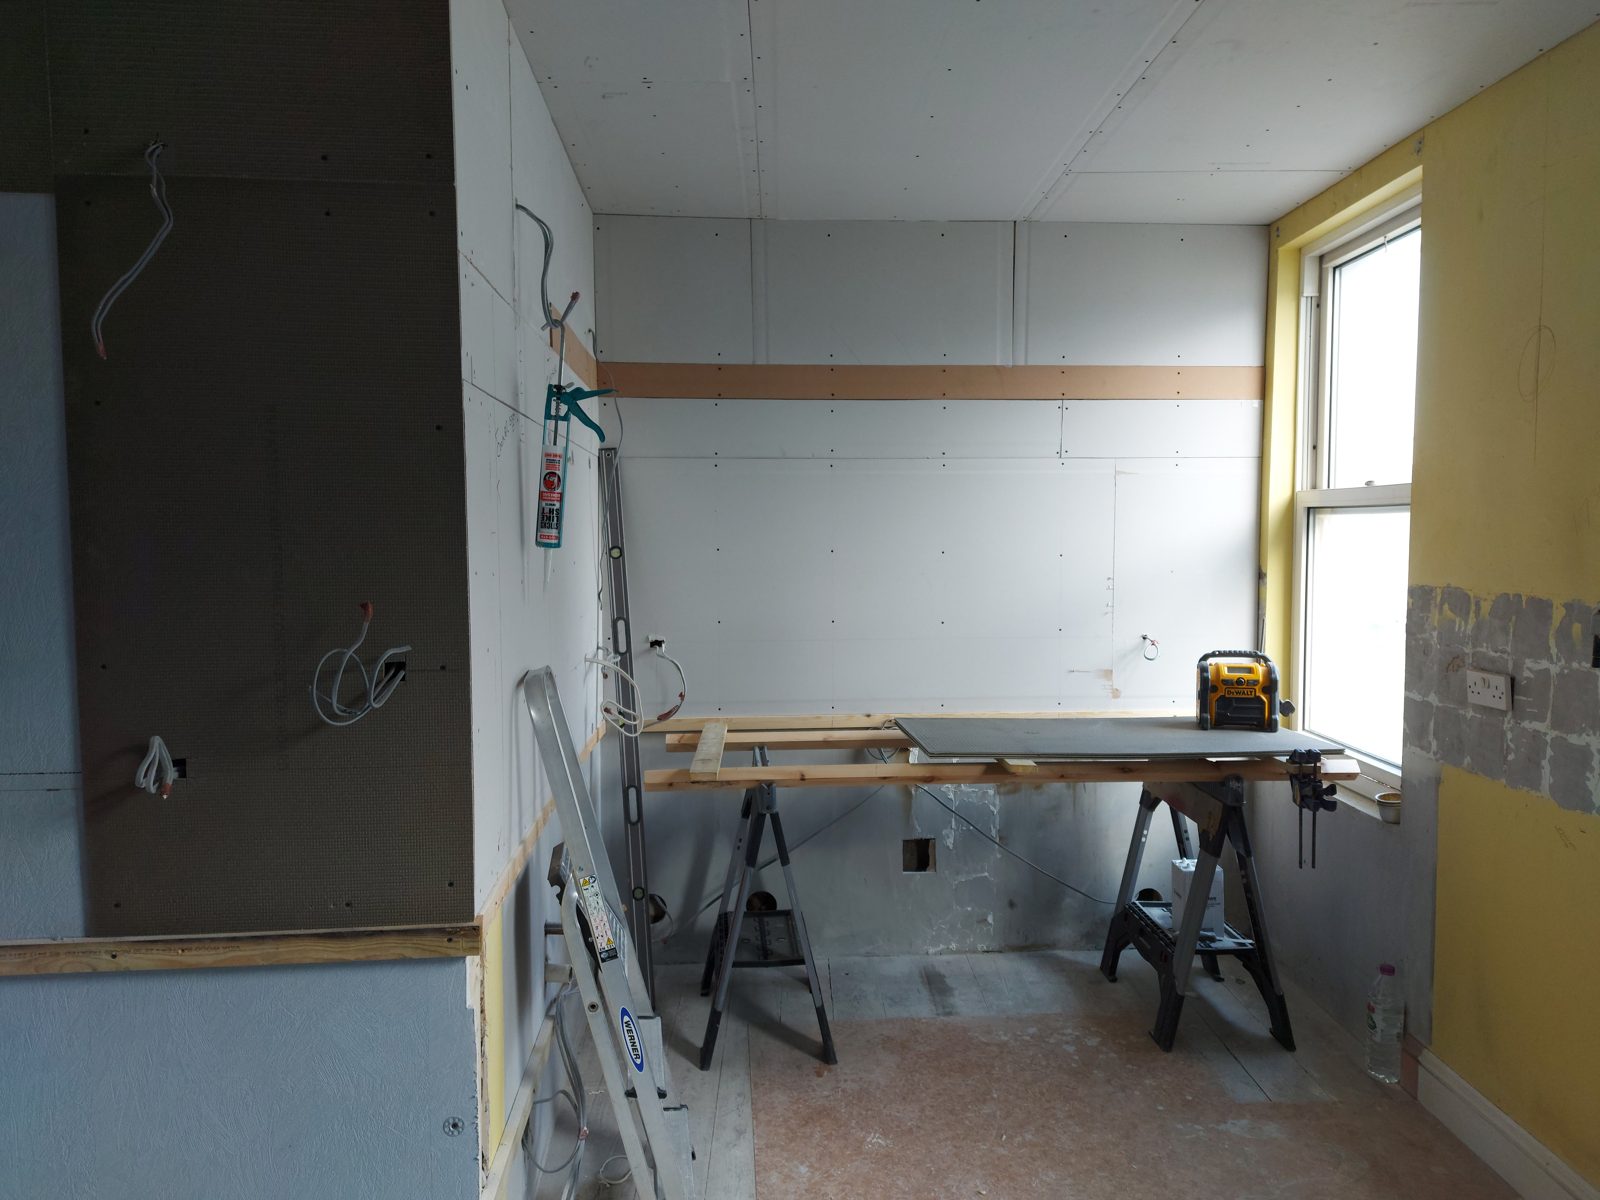
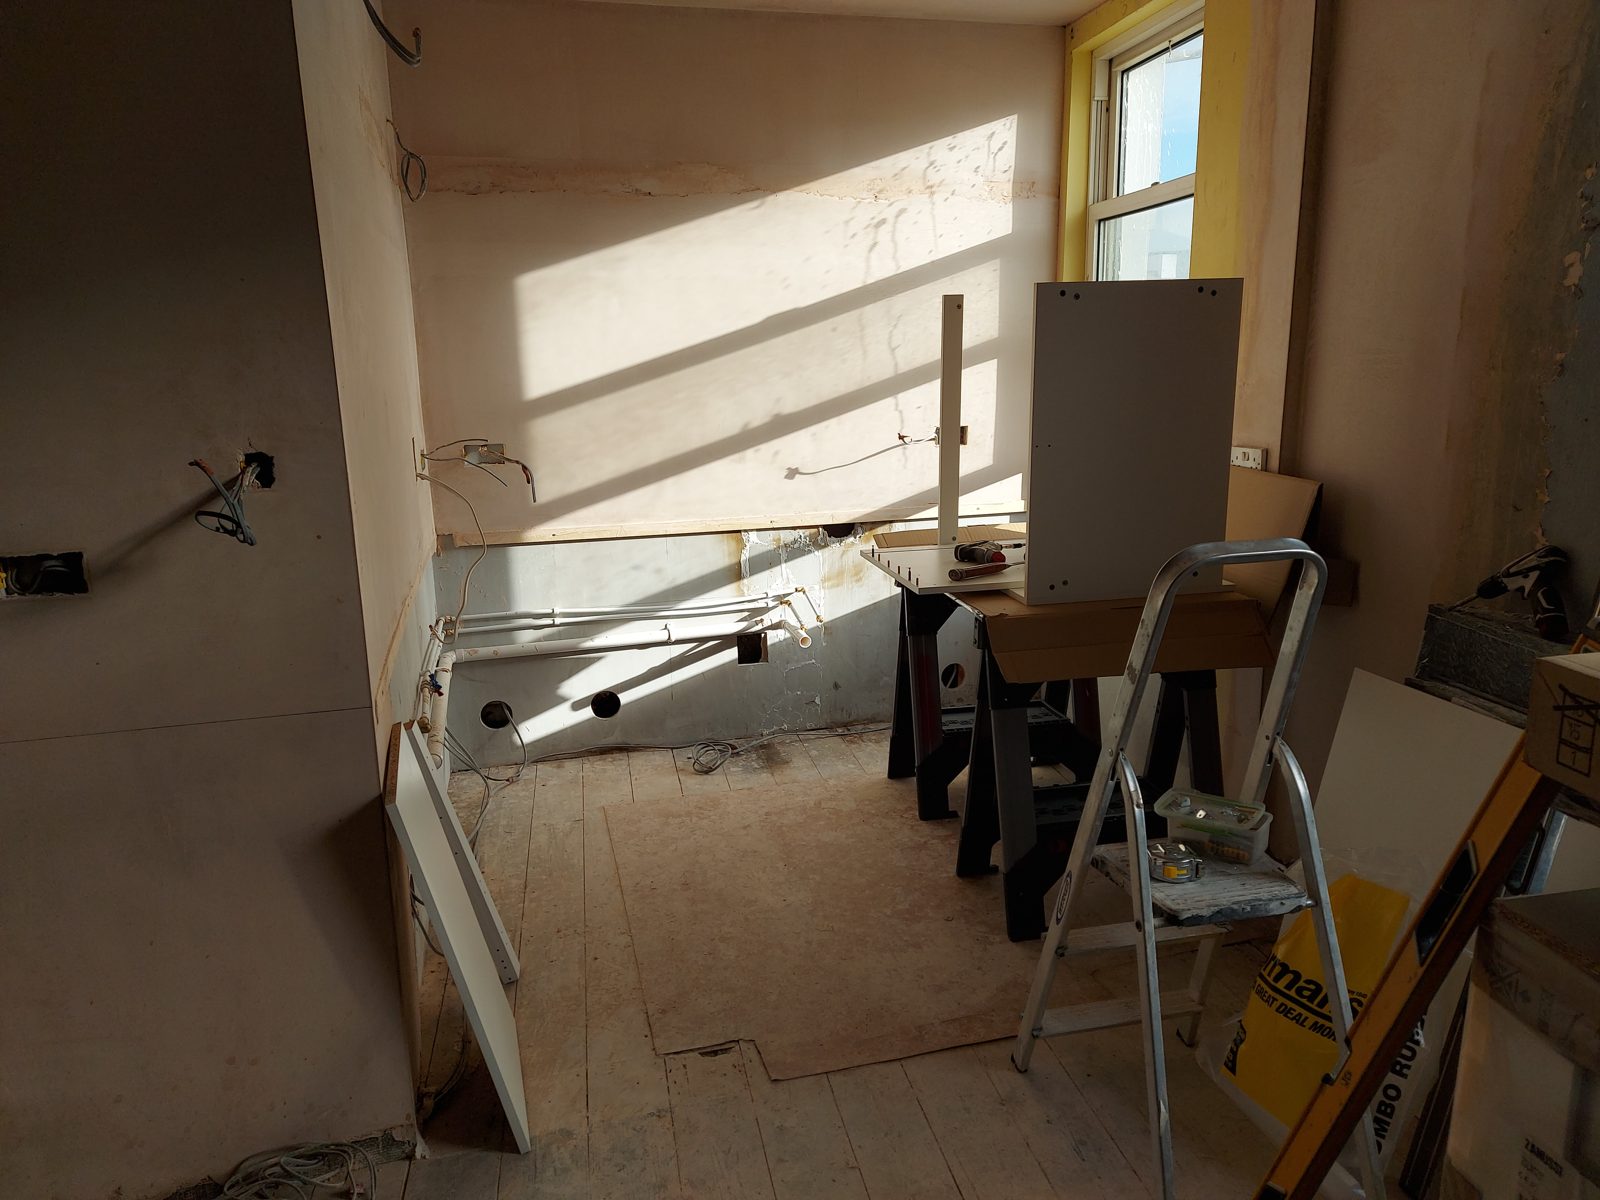
Boarded and plastered.

New plasterboard throughout with the first fix run behind it, then a full skim. Flat, true walls make every part of the fit that follows quicker and tighter, from the cabinets to the splashback.

Boarding out, first walls up: St John's Road kitchen project photo 07
/07 · Boarding out, first walls up
Fresh board around the doorway: St John's Road kitchen project photo 08
/08 · Fresh board around the doorway
Boarded and ready for plaster: St John's Road kitchen project photo 09
/09 · Boarded and ready for plaster
Skimmed walls drying out: St John's Road kitchen project photo 10
/10 · Skimmed walls drying out
Plastered out, kit standing by: St John's Road kitchen project photo 11
/11 · Plastered out, kit standing by
Stage 04 of 06

The fit begins.

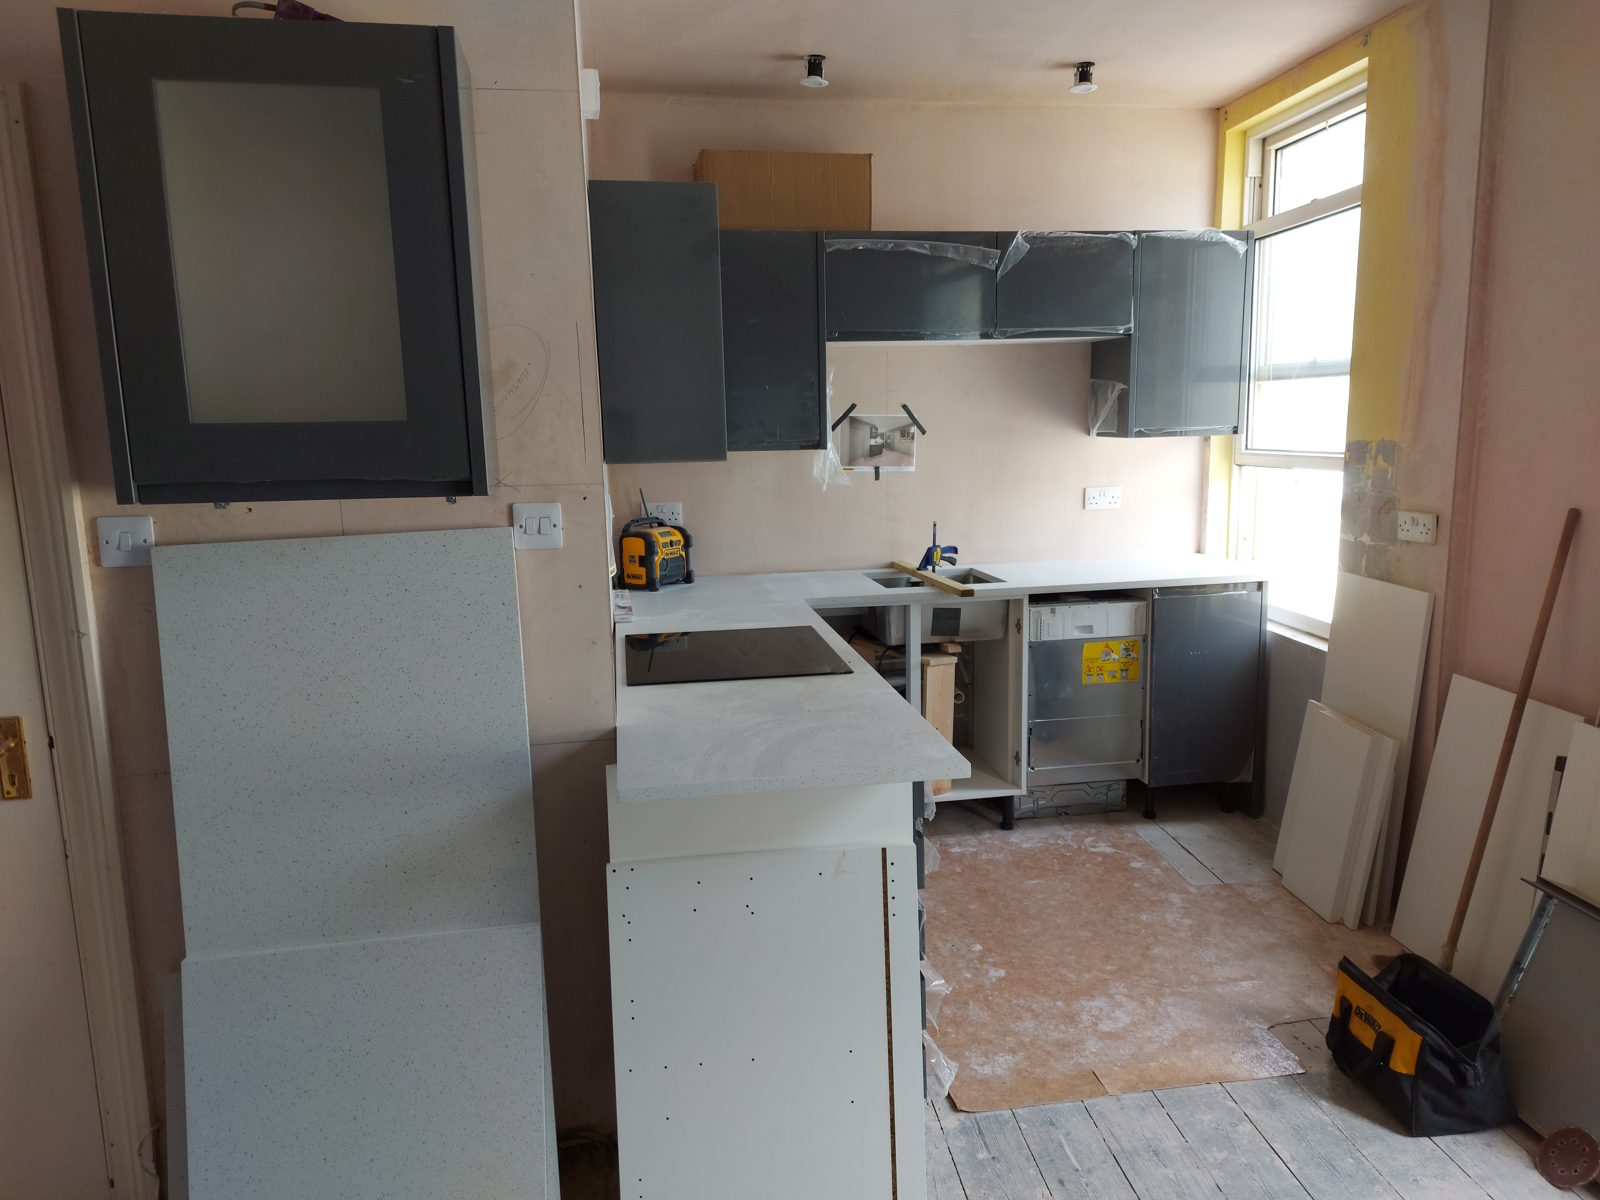
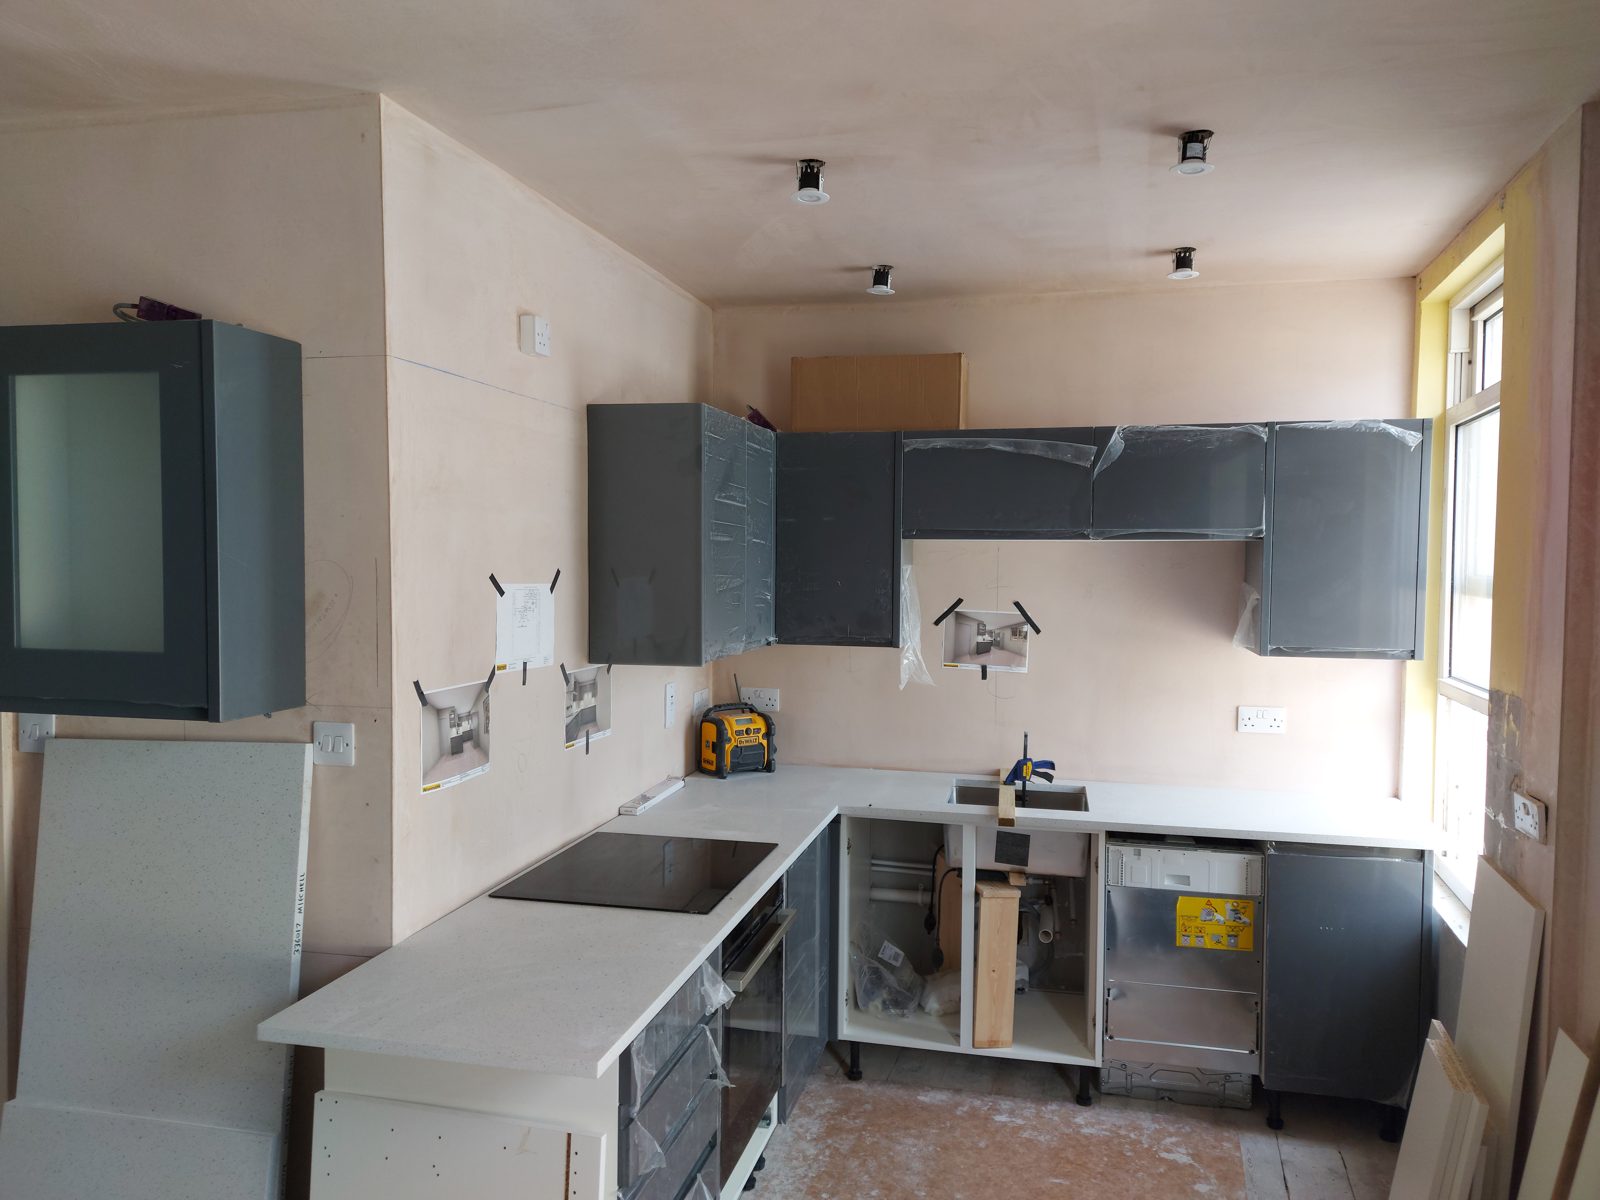
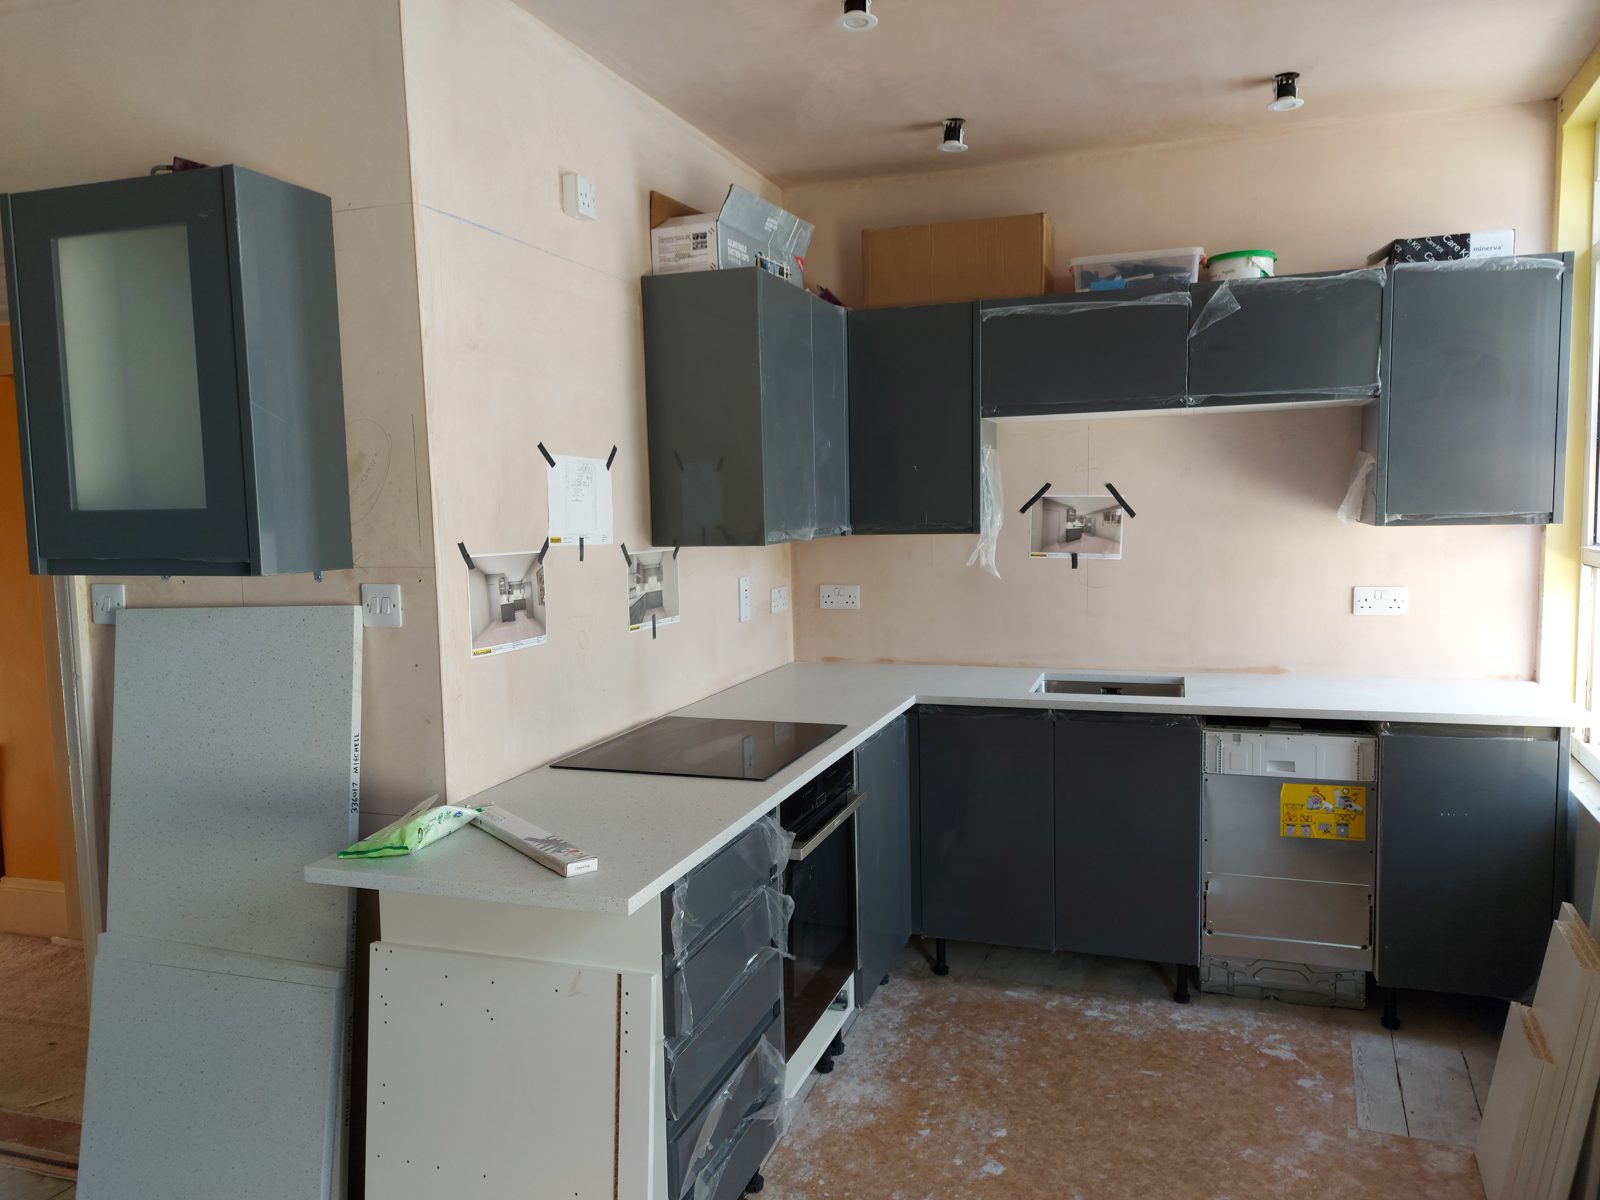
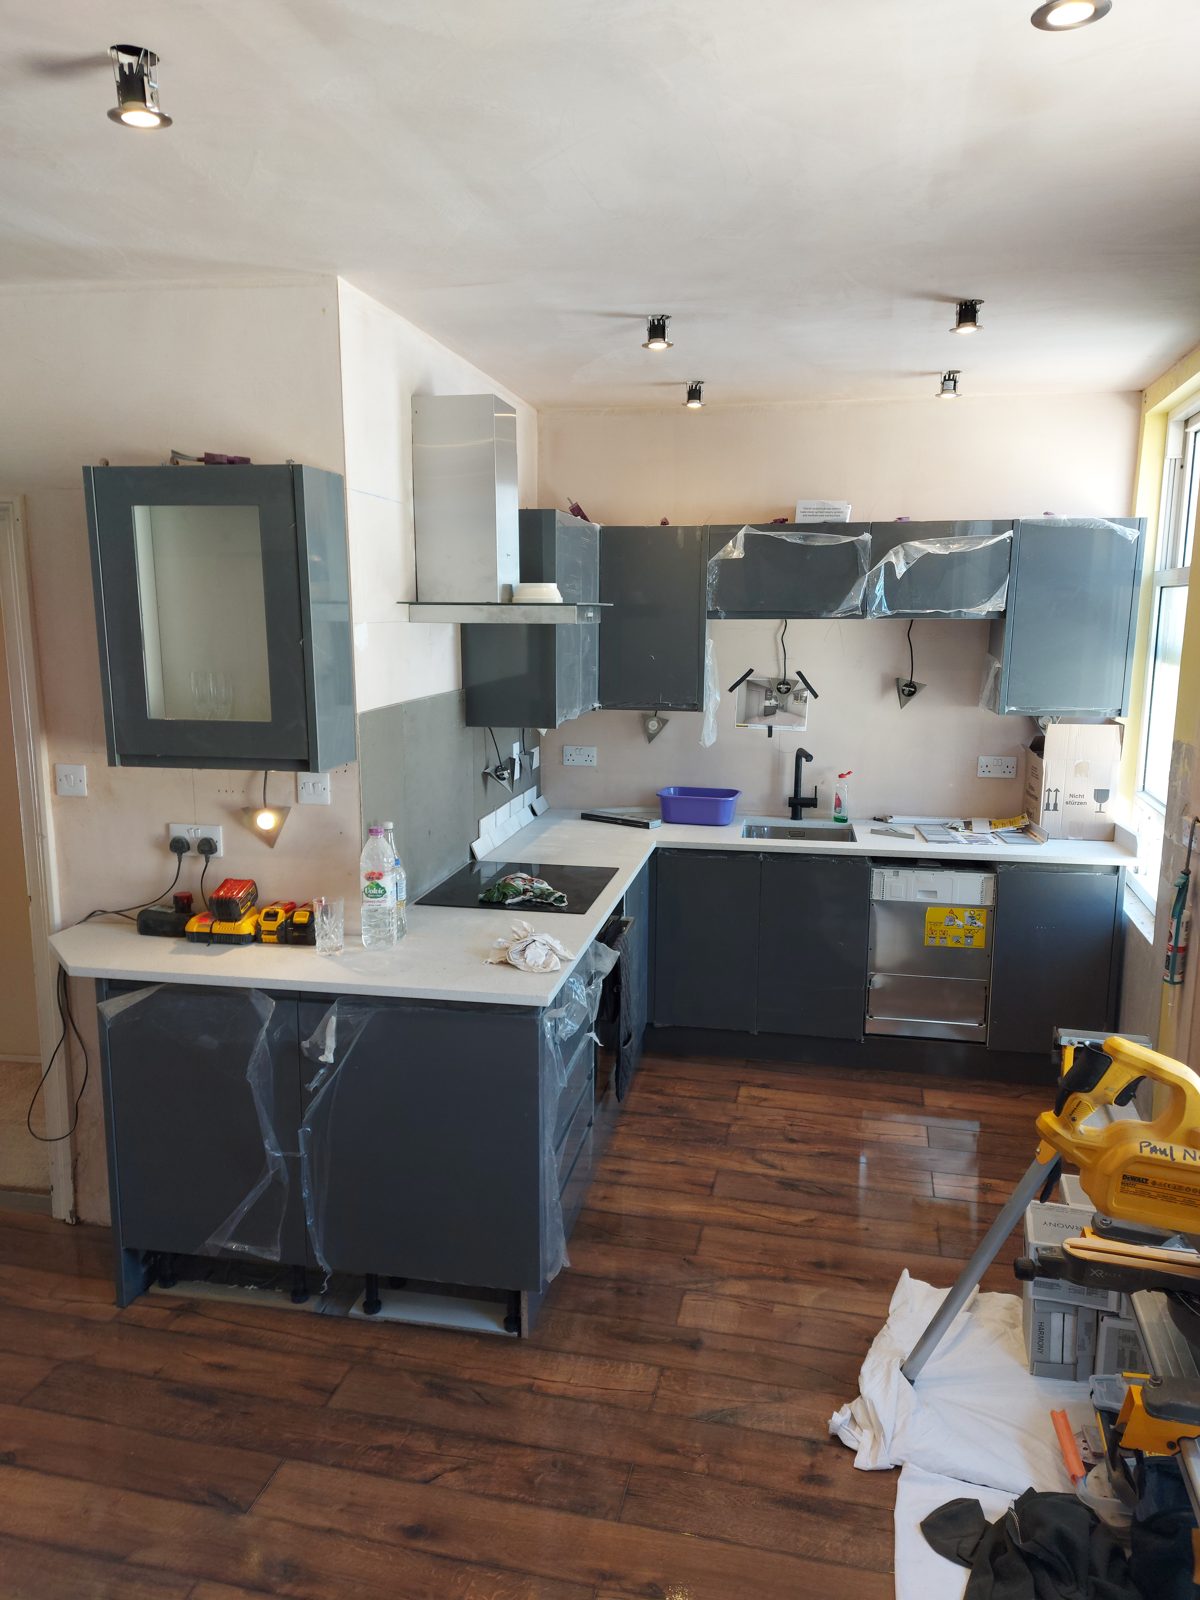
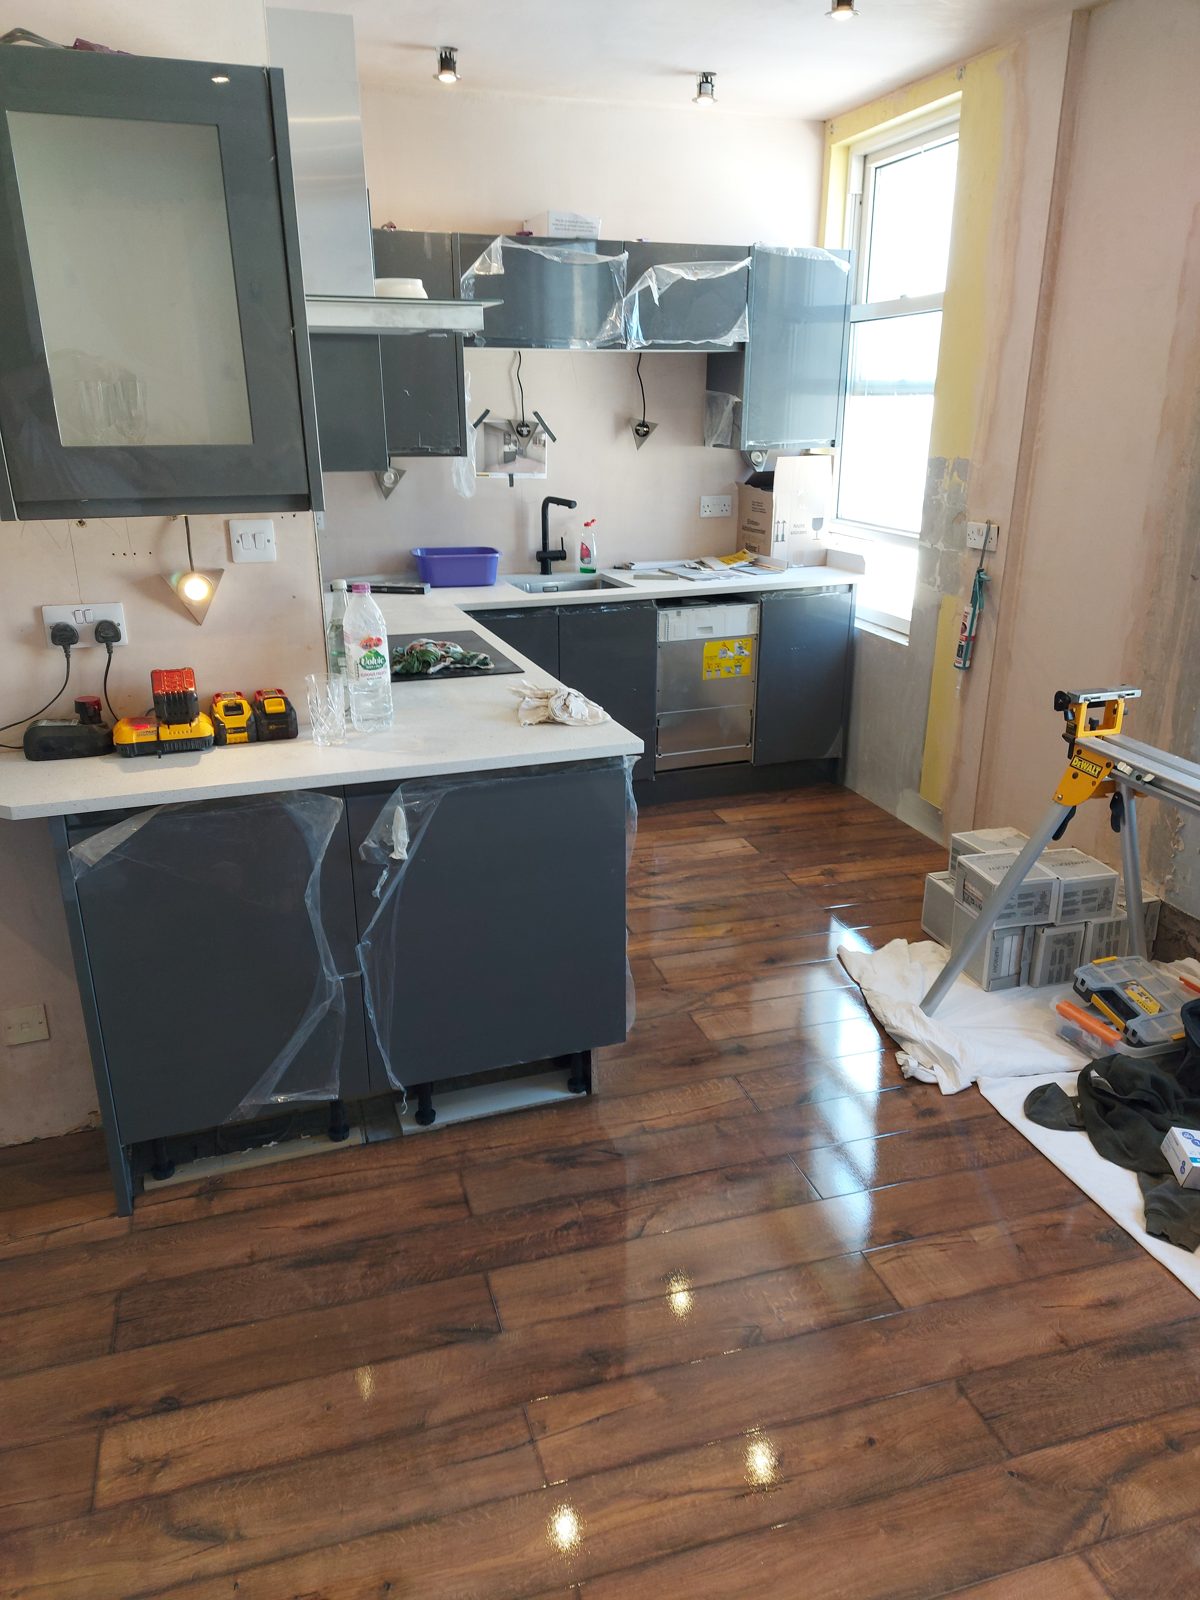
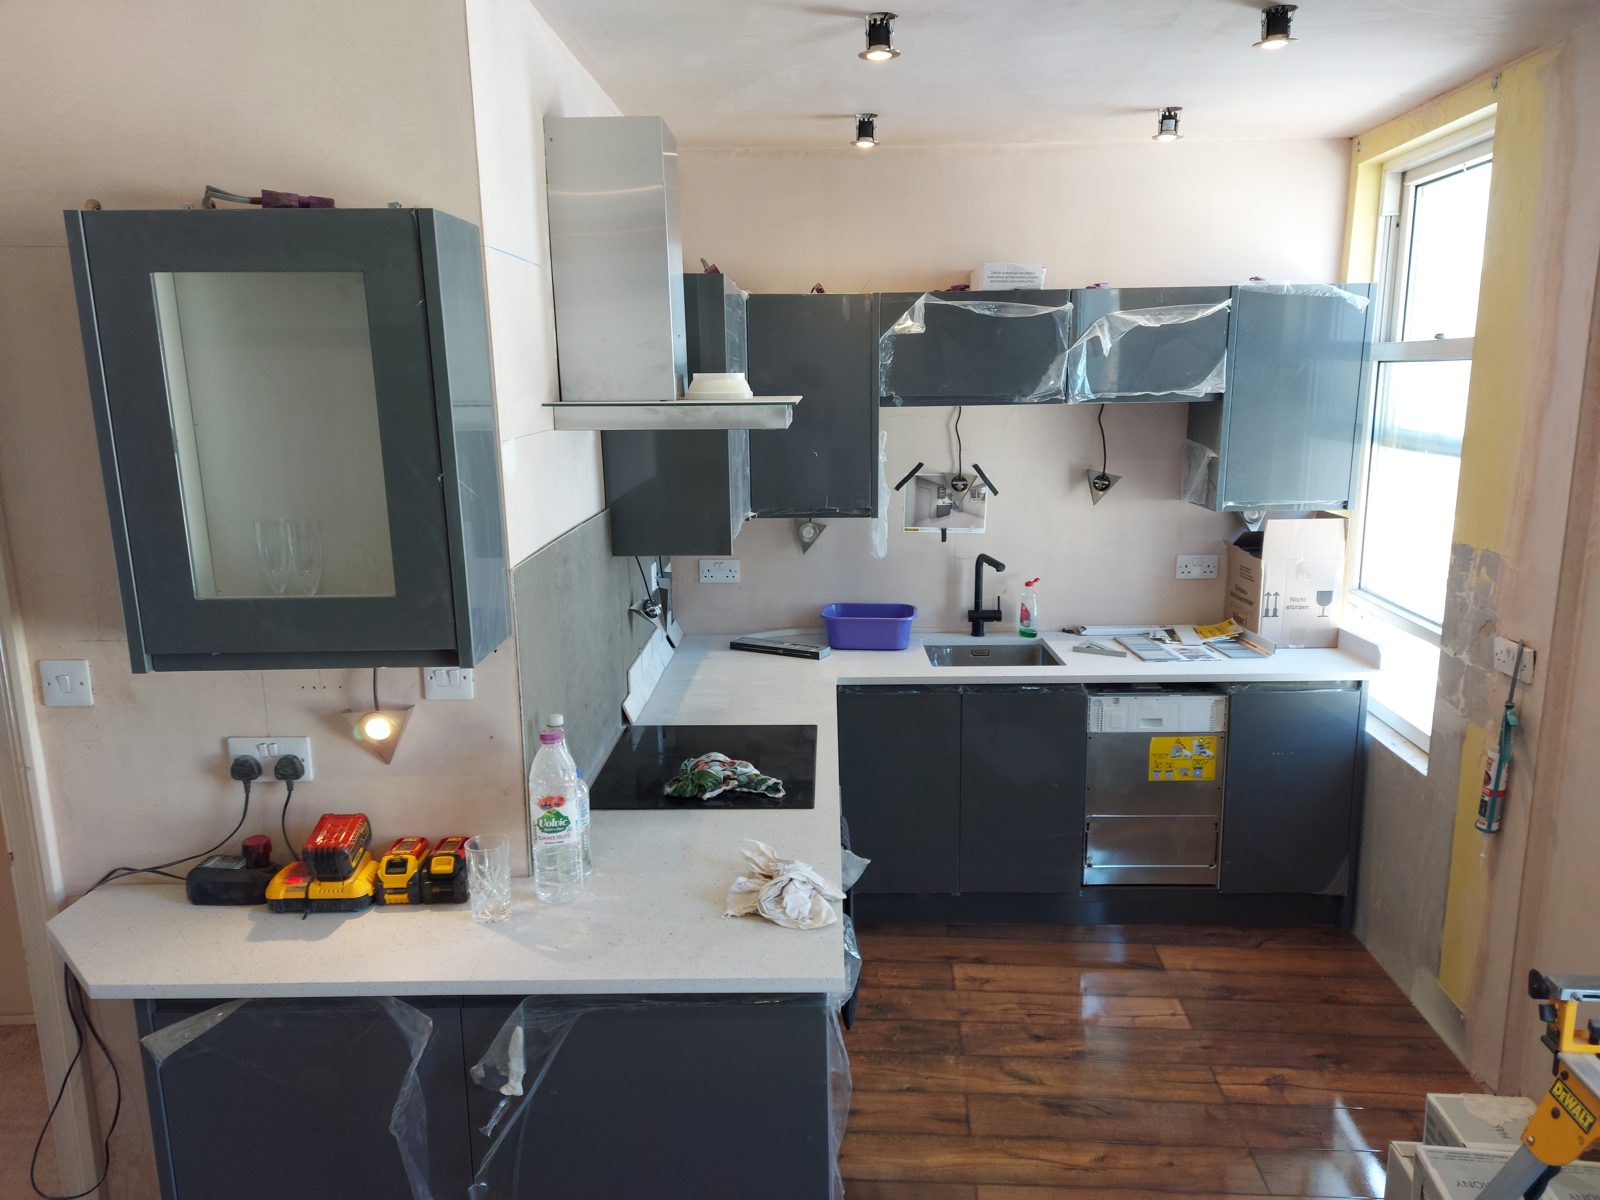
Grey gloss units went in level and scribed to the fresh walls: wall cabinets with a glass display unit, full height storage, an island, and a new timber effect floor laid through the whole room.

Wall units and glass display in: St John's Road kitchen project photo 12
/12 · Wall units and glass display in
Base units and first runs: St John's Road kitchen project photo 13
/13 · Base units and first runs
The run taking shape: St John's Road kitchen project photo 14
/14 · The run taking shape
Island built and protected: St John's Road kitchen project photo 15
/15 · Island built and protected
New floor down, island in place: St John's Road kitchen project photo 16
/16 · New floor down, island in place
Units in, floor laid wall to wall: St John's Road kitchen project photo 17
/17 · Units in, floor laid wall to wall
Stage 05 of 06

Worktops and tiling.

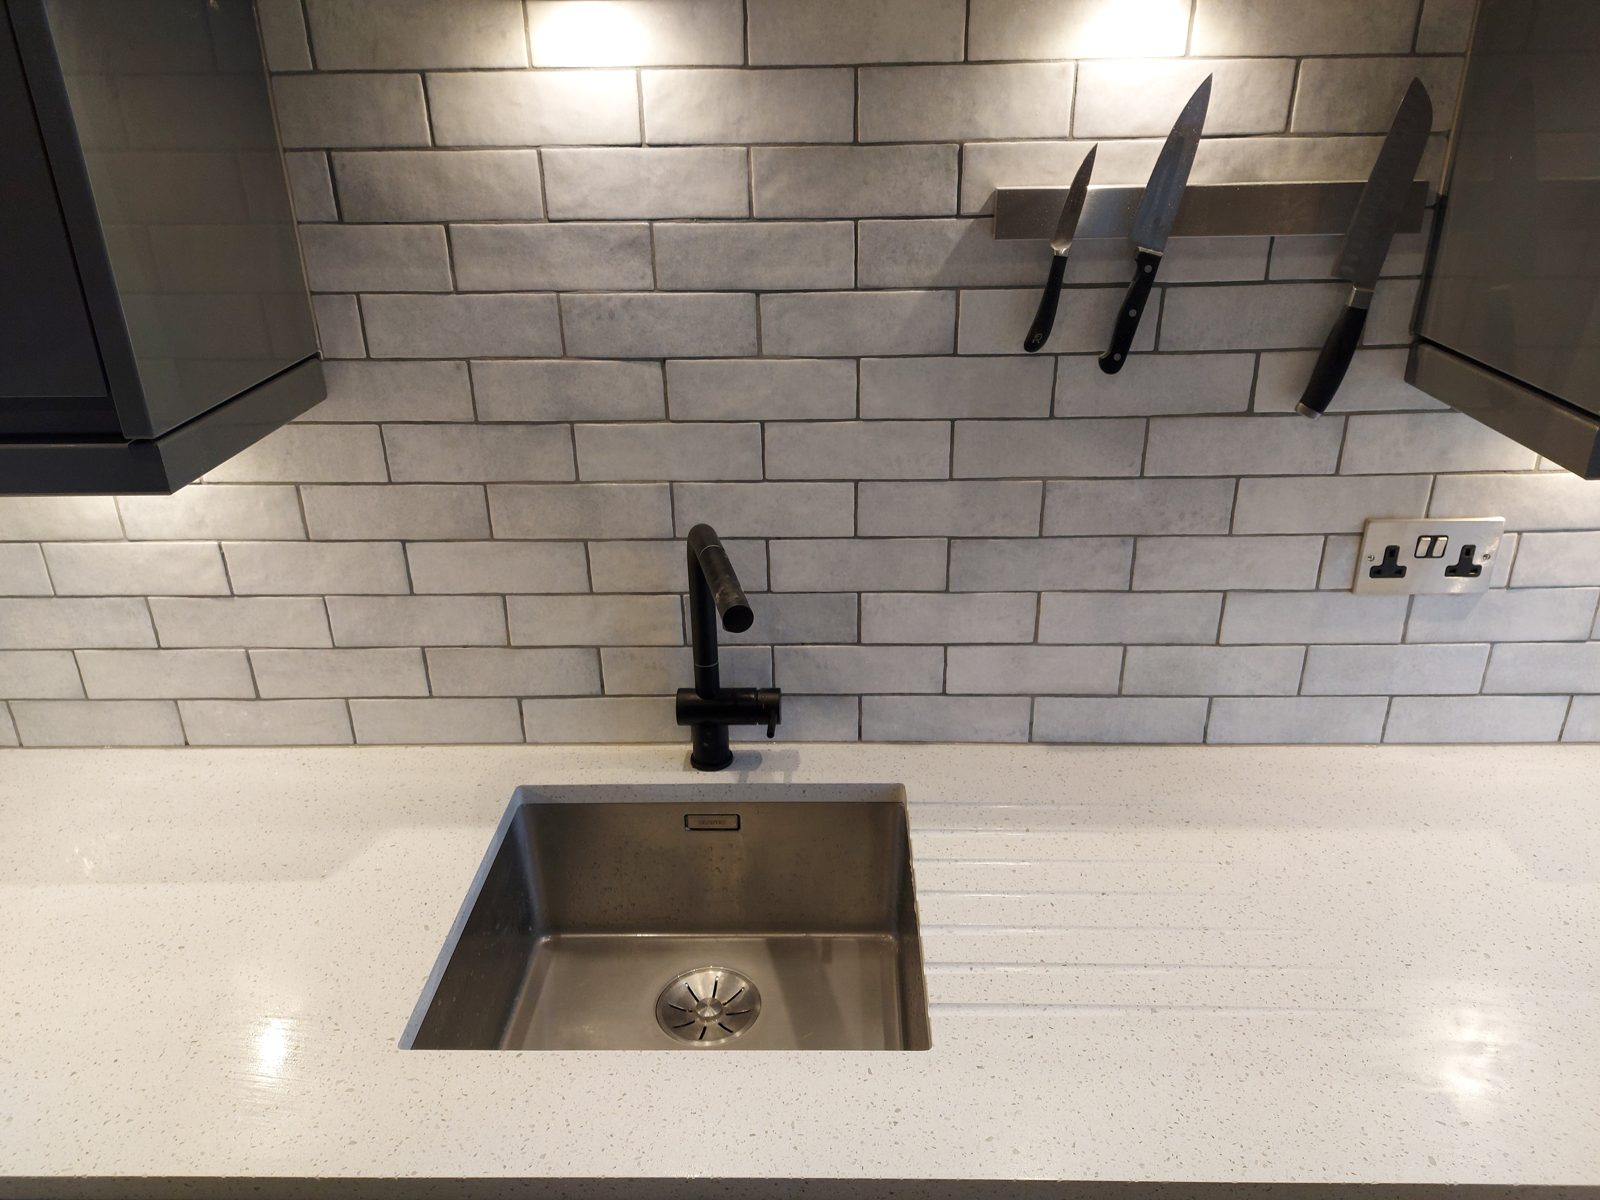
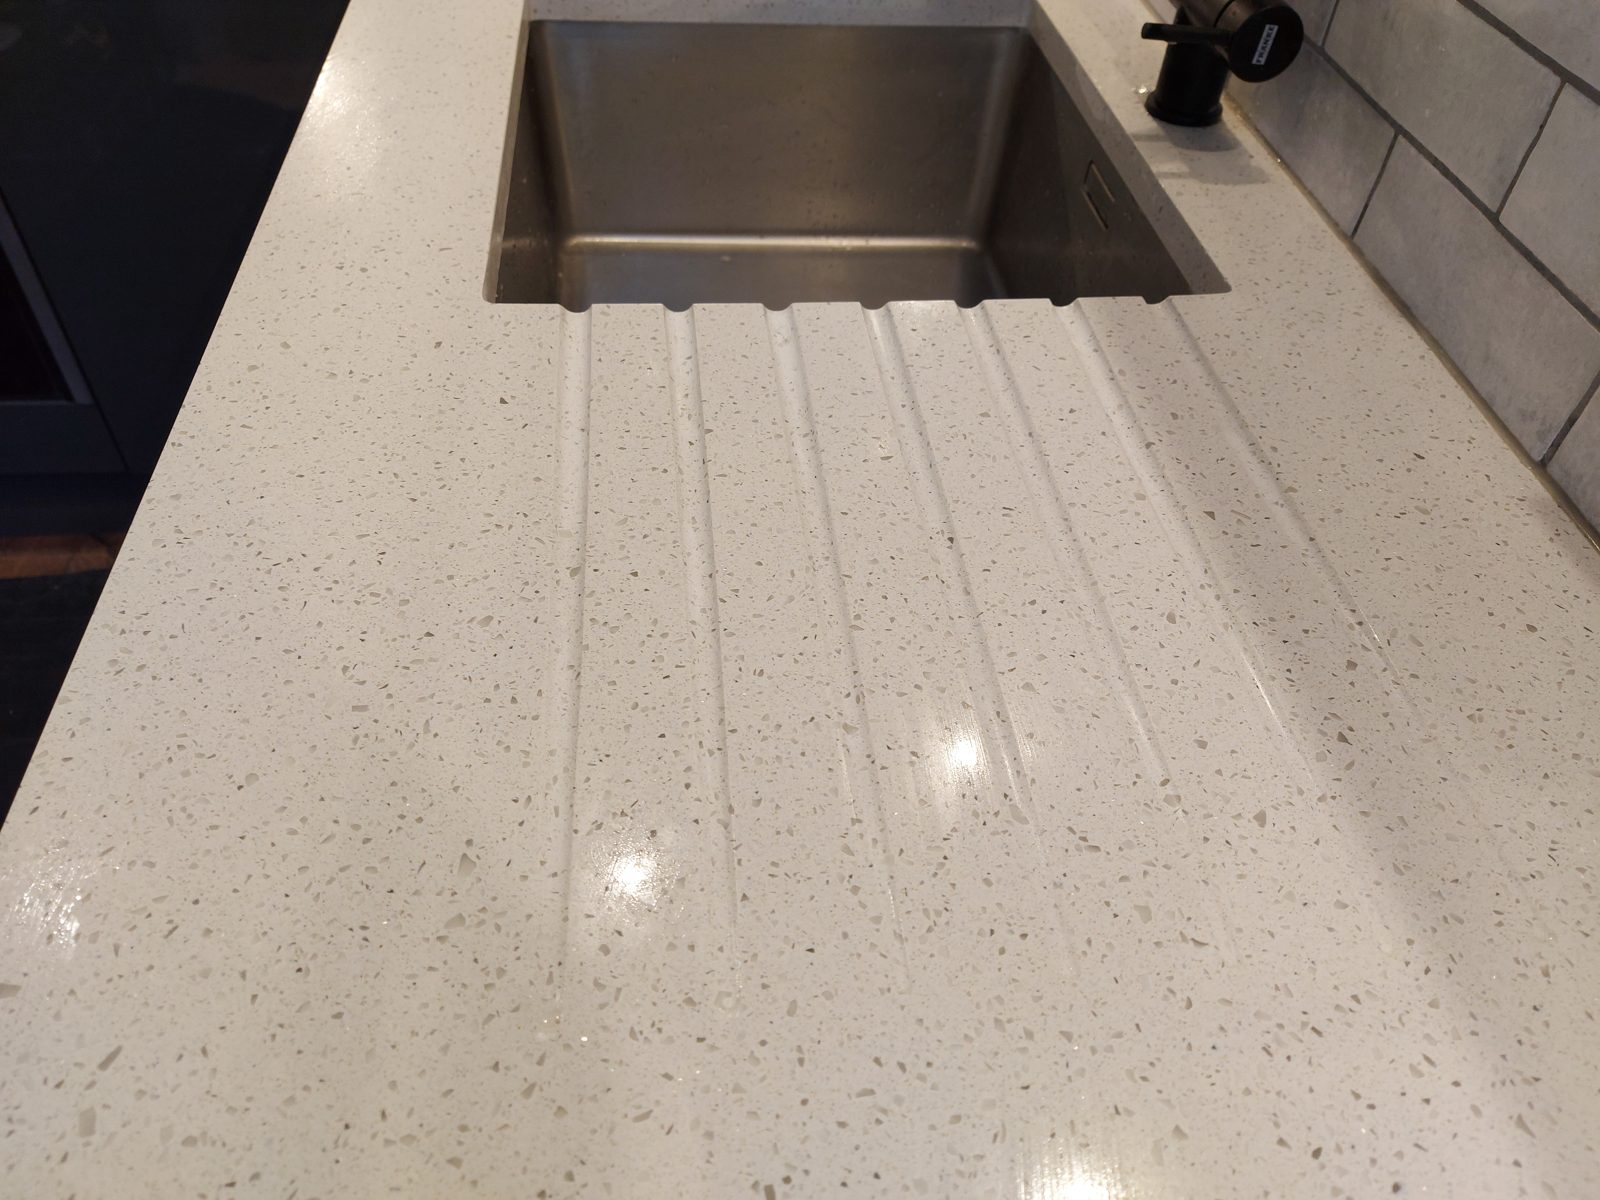
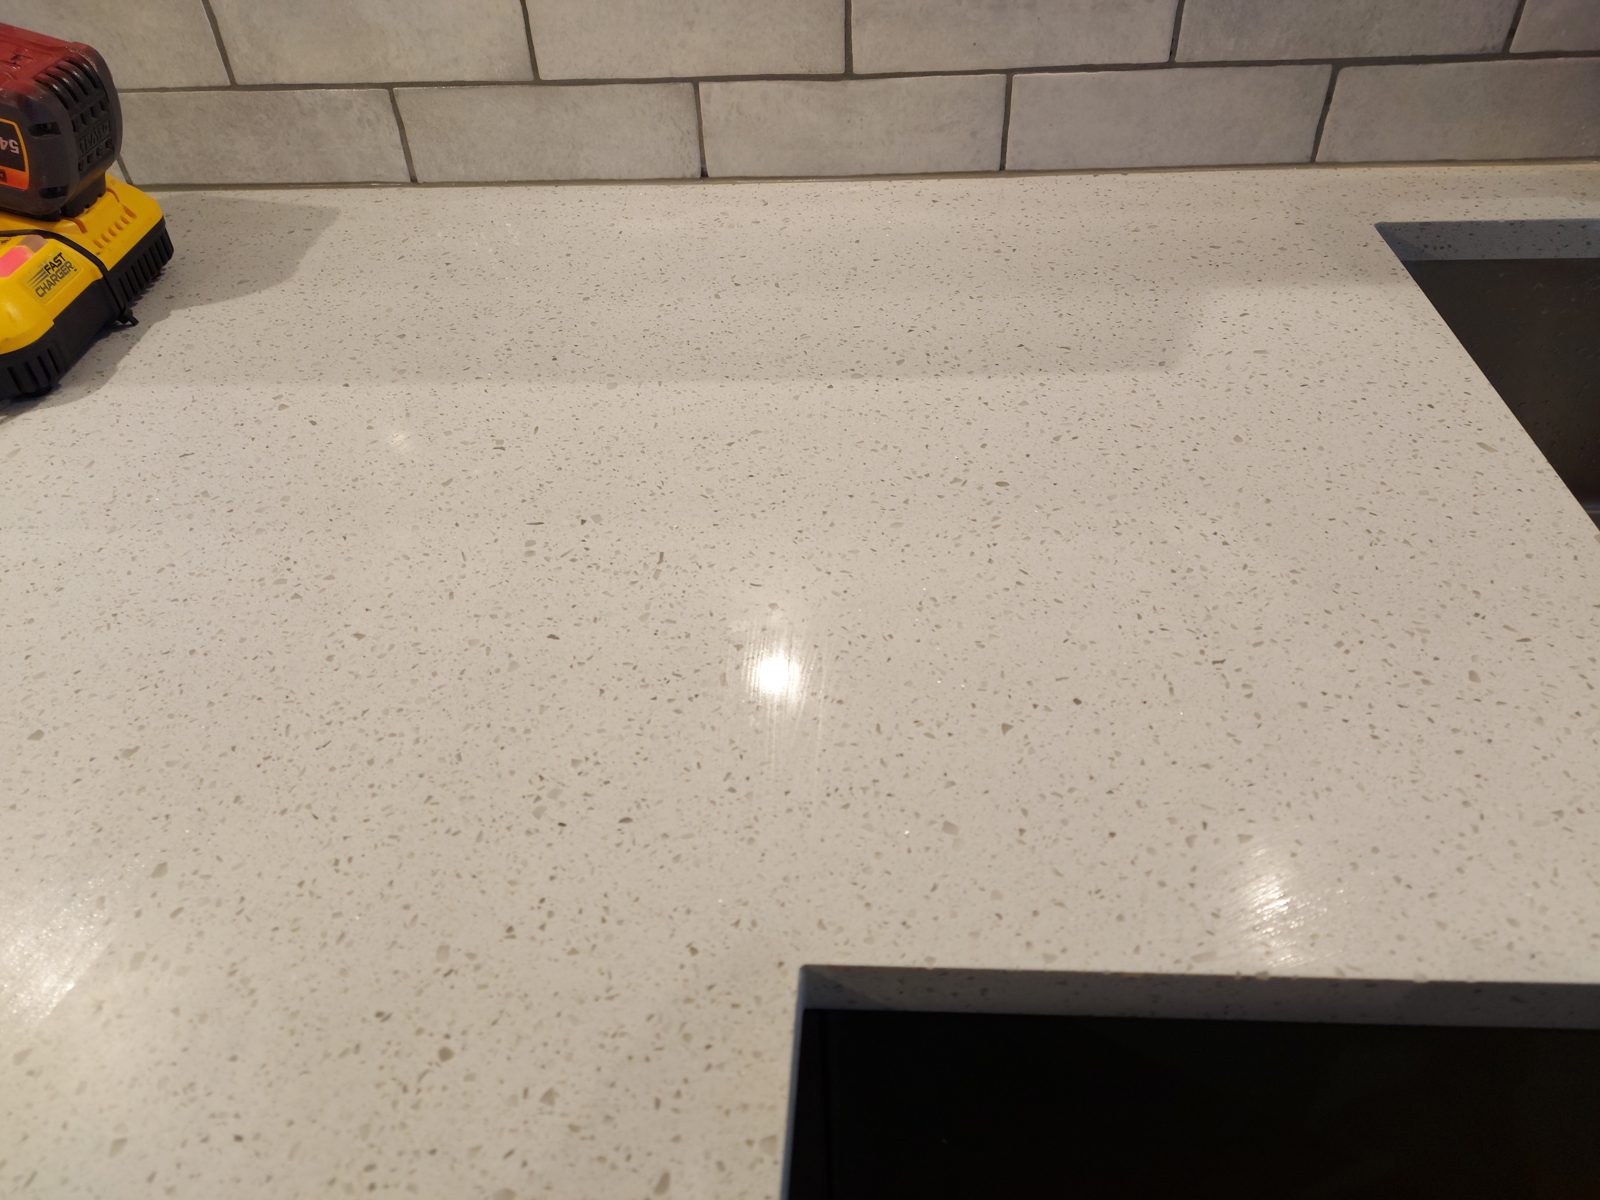
Solid worktops with drainer grooves cut in at the sink, an undermount bowl, a black mixer tap and a brick bond tiled splashback with a knife rail. The details you touch every day are the ones worth doing carefully.

Splashback tiled, black tap in: St John's Road kitchen project photo 18
/18 · Splashback tiled, black tap in
Drainer grooves cut at the sink: St John's Road kitchen project photo 19
/19 · Drainer grooves cut at the sink
Worktop corner, scribed tight: St John's Road kitchen project photo 20
/20 · Worktop corner, scribed tight
Stage 06 of 06

The finish.

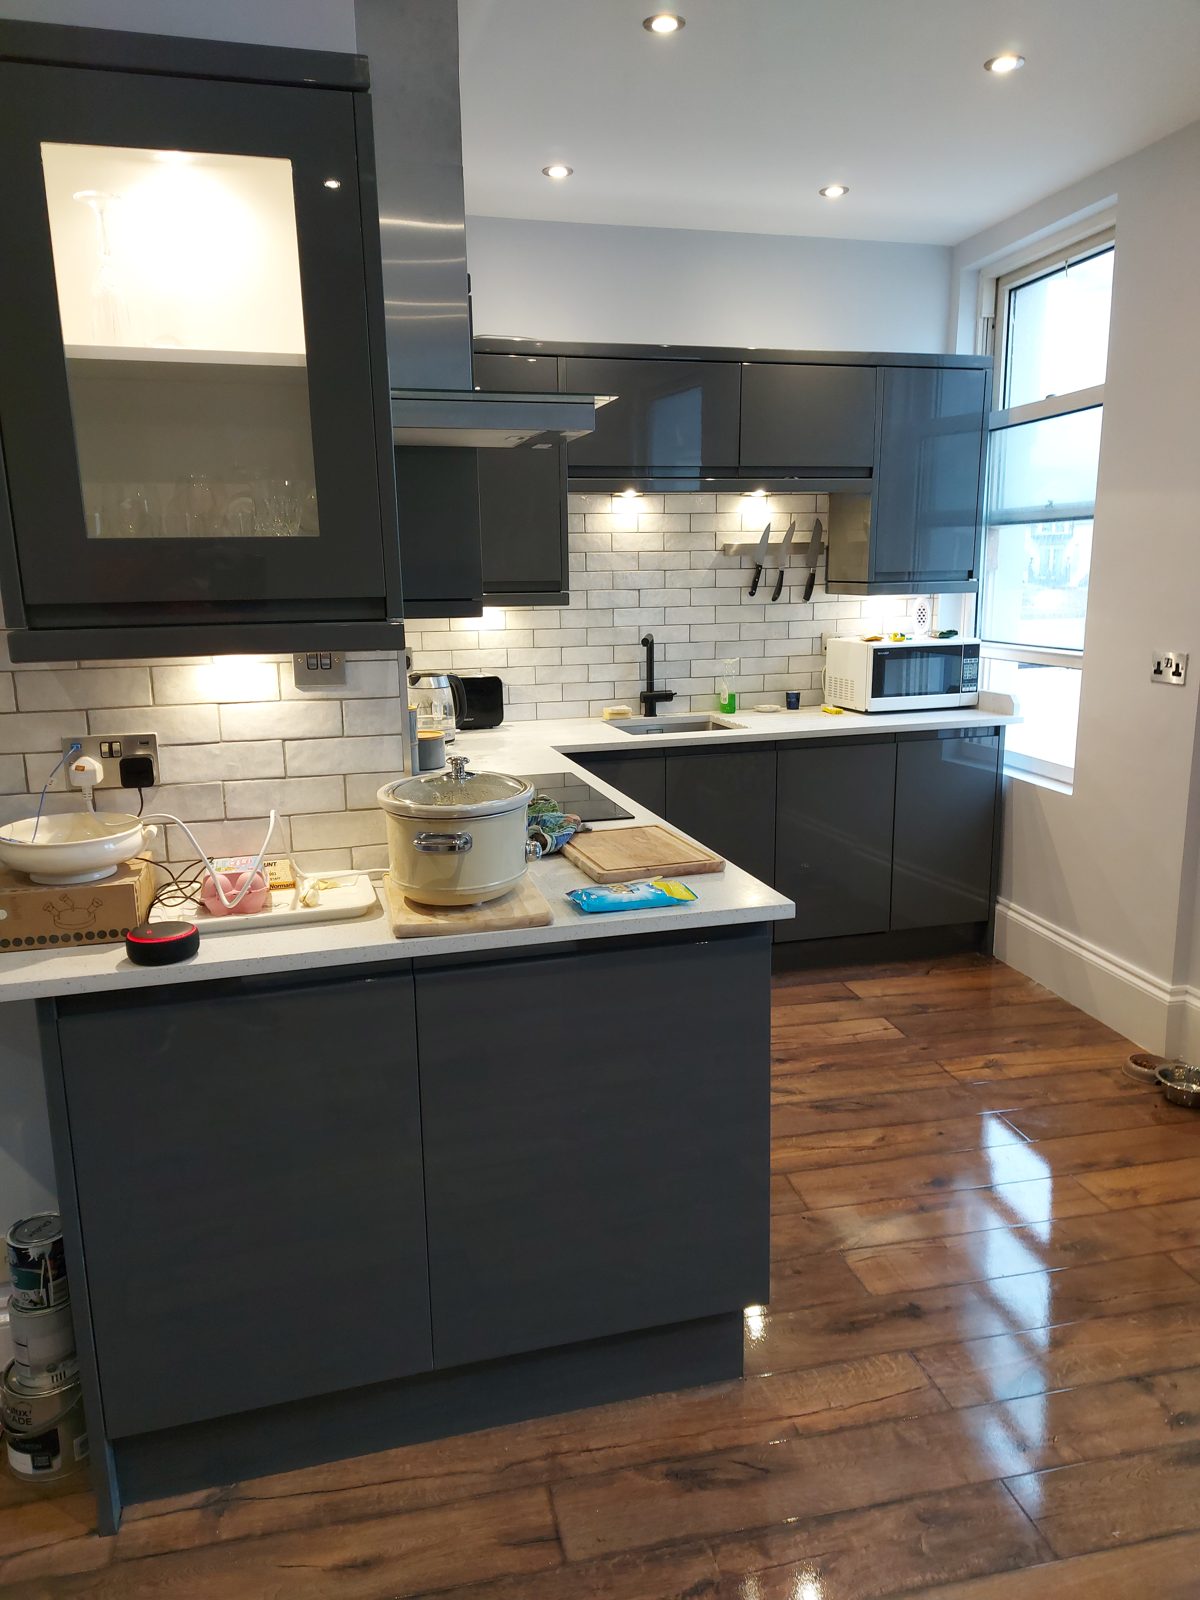
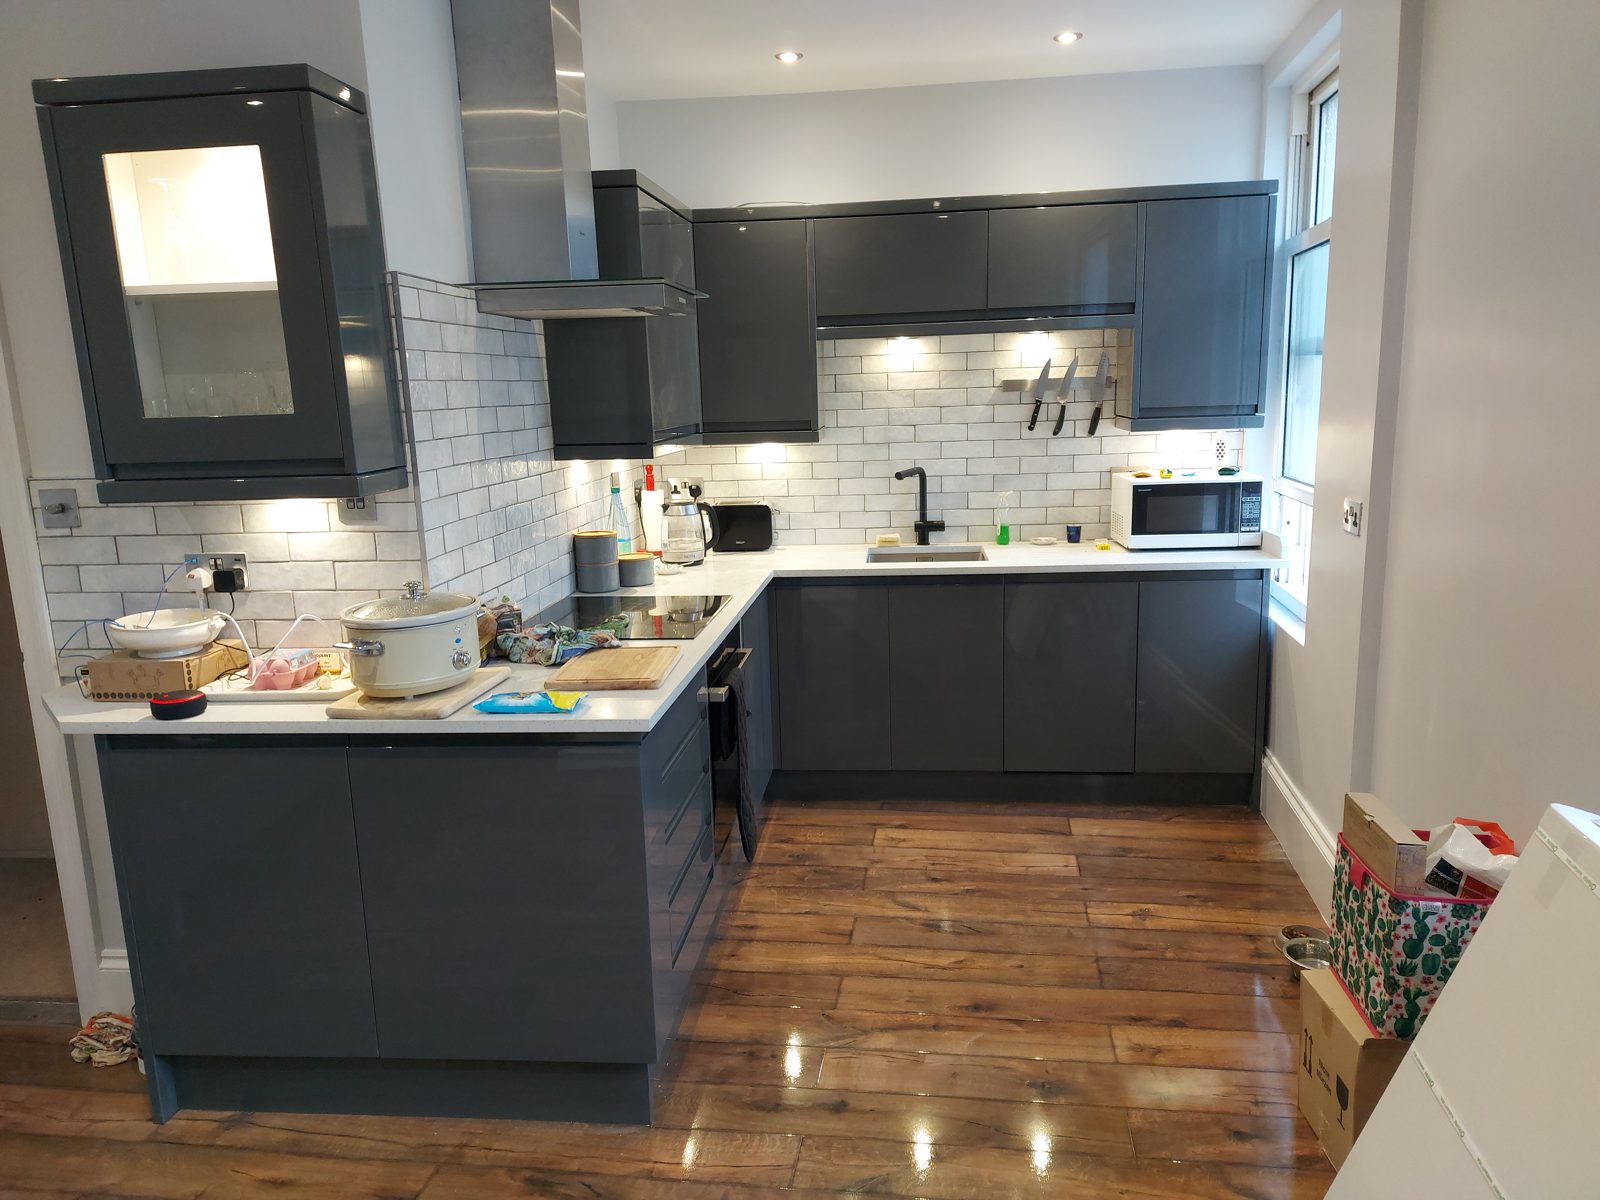
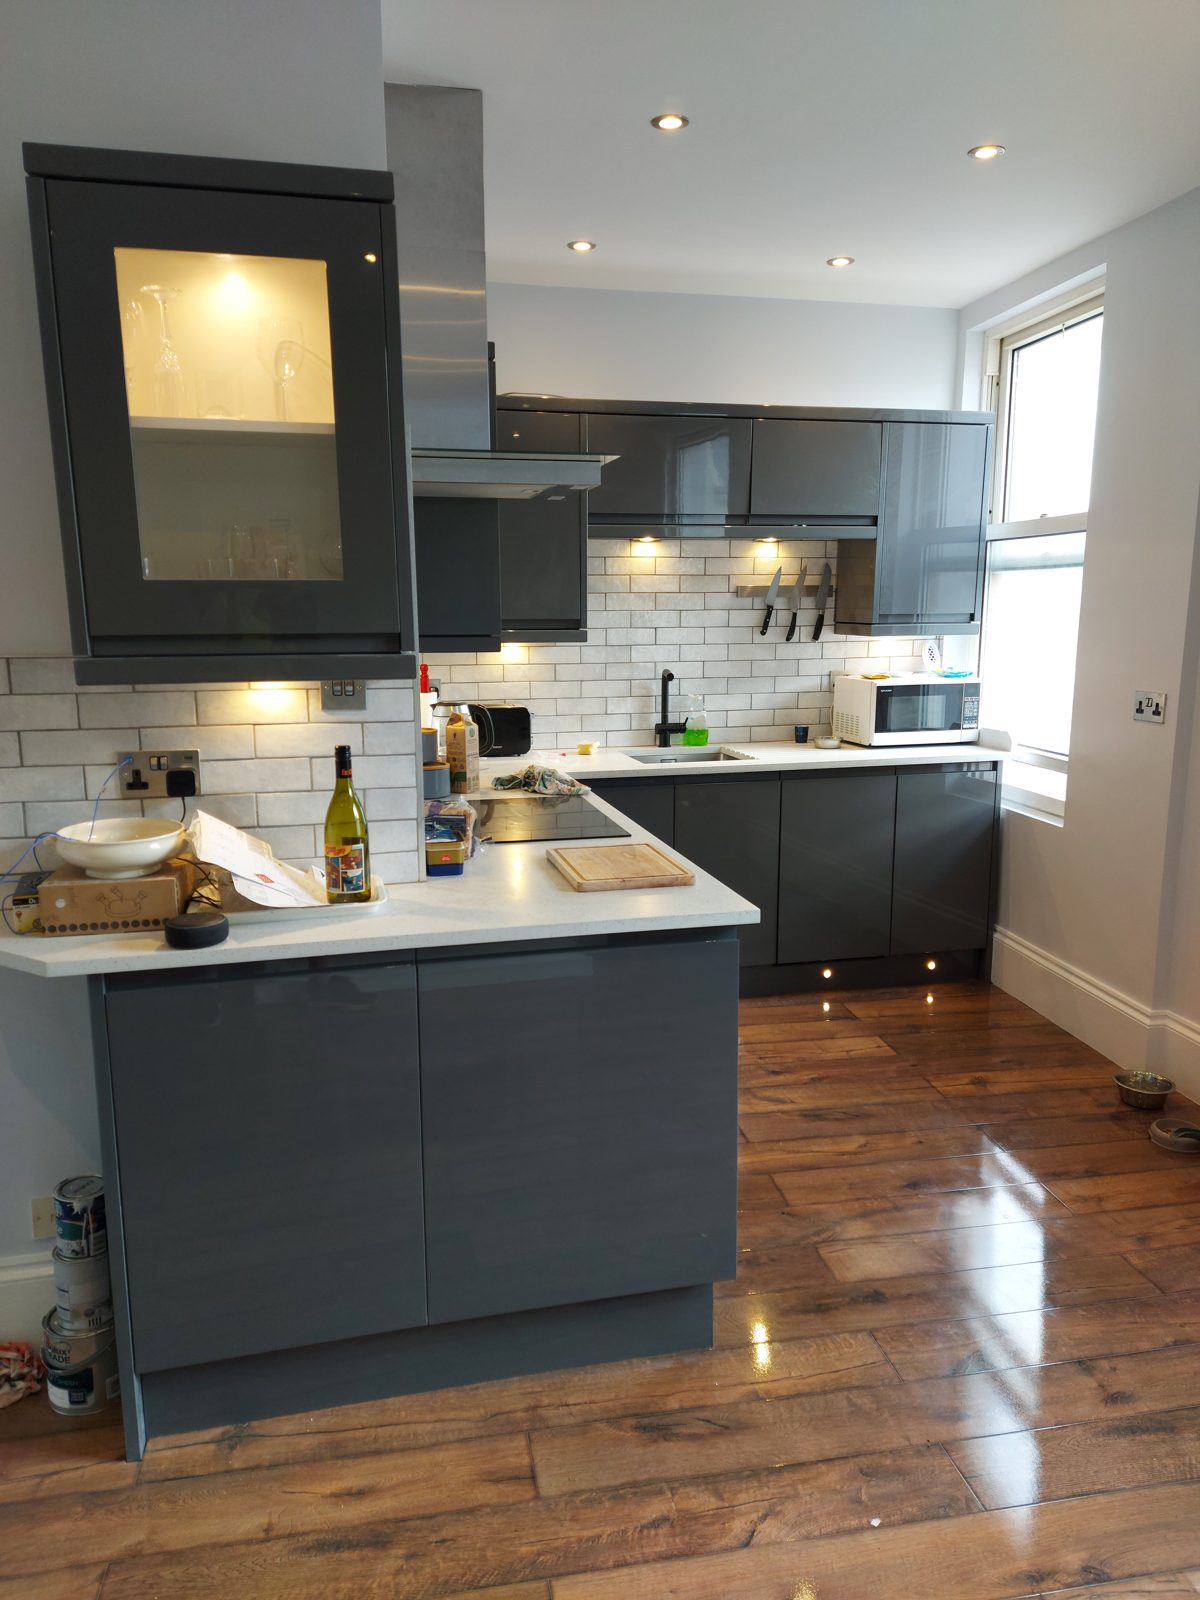
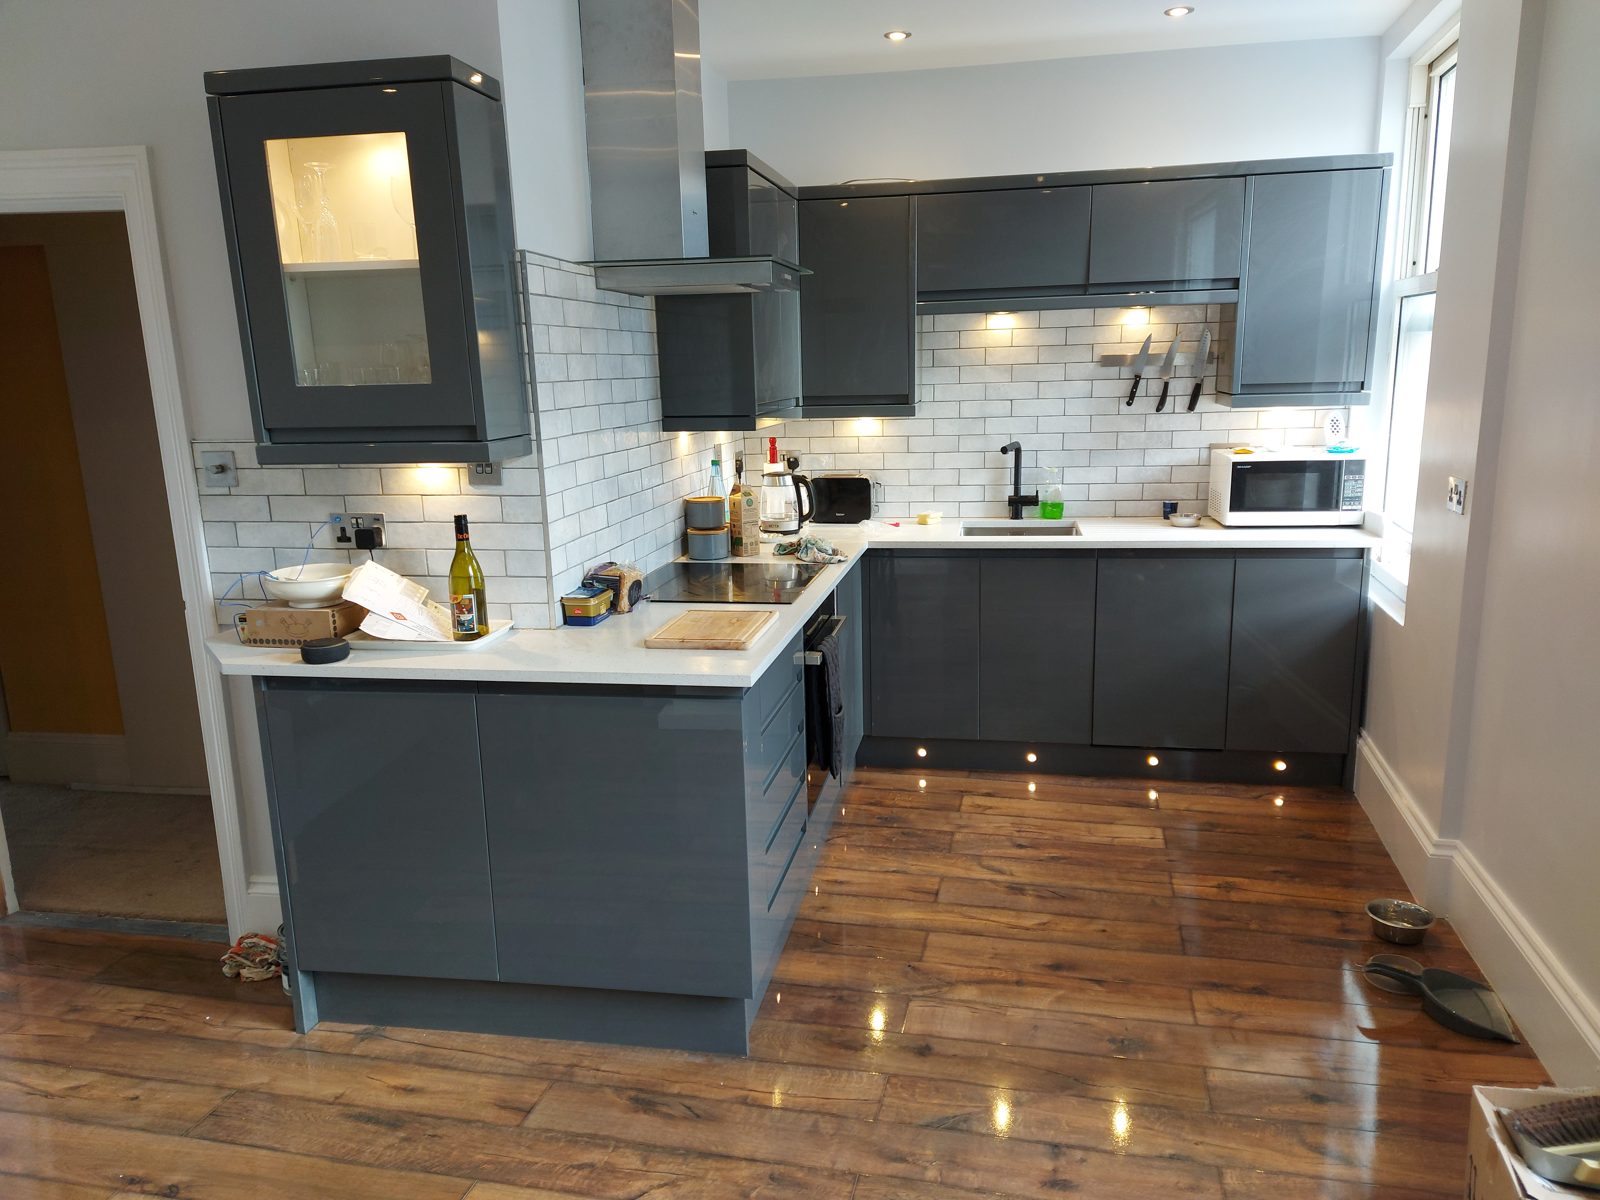
Lit glass cabinets, under unit lighting, plinth lights at the floor and the island as the centre of the room. Same four walls as the first photo, and a kitchen the owners actually want to stand in.

Finished, glass cabinets lit: St John's Road kitchen project photo 21
/21 · Finished, glass cabinets lit
The finished kitchen, island and extractor: St John's Road kitchen project photo 22
/22 · The finished kitchen, island and extractor
Cabinet and worktop lighting on: St John's Road kitchen project photo 23
/23 · Cabinet and worktop lighting on
Plinth lights on, job done: St John's Road kitchen project photo 24
/24 · Plinth lights on, job done
Related

More from Stormproof.

Got a job like this one?

Send us a photo or two on WhatsApp and we will tell you straight what it needs and what it costs.

Contact

Get your free quote.

Phone
 
WhatsApp
Message us any time
Email
 
Response time
Same day, usually quicker